This guide will show you how to upload and Install Mods Manually on your V Rising Server
Order your V Rising server today with AA Game Hosting by clicking here!
Manually installing mods on your V Rising server gives you full control over how each plugin is added, updated, and organized. Whether you're using mods that aren’t available through automated tools or you simply prefer a hands‑on approach, the manual method ensures every file is placed exactly where it needs to be. This guide walks you through the full process of uploading and installing mods manually on your V Rising server so you can customize gameplay, enhance server functionality, and create the experience you want for your players.
Manually Installing Mods and Plugins
(Important: You must install BepInEx before uploading or installing any mods or plugins on your V Rising server.)
1. Open Thunderstore and choose the mods you want for your server.
2. Download and install the mods on your local computer.
3. Once the mods are installed locally, locate them by opening your V Rising directory at C:\Program Files (x86)\Steam\steamapps\common\VRising.
4. A standard mod folder layout usually looks like this:
Typically, installing a mod only requires placing the .dll file into the correct plugins folder. Still, it’s important to check the mod’s README or documentation, since some mods may include extra files or have unique installation requirements.
5. Log in to your Game Control Panel and navigate to your service.
6. Before making any modifications, stop the server from running by clicking the Stop button.

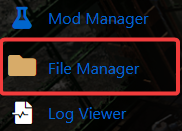
7. Navigate to the File Manager Tab to continue.
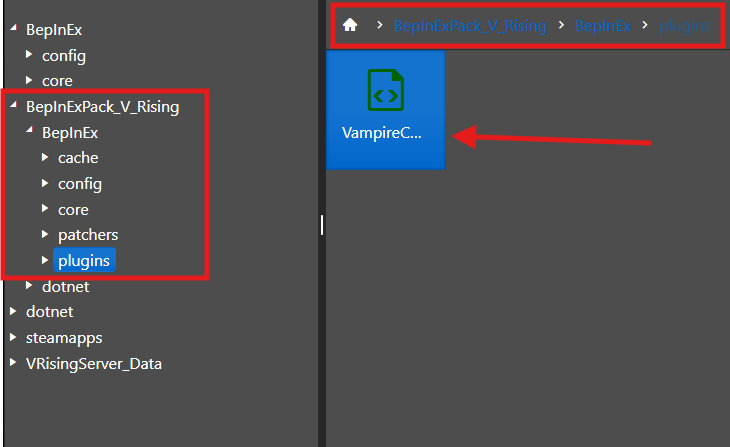
8. To simplify file management, we recommend transferring files through an FTP client like FileZilla. Place the .dll files inside the BepInEx/plugins folder on your server.
9. After all uploads are complete, boot up your server and enjoy your mods.
Did the above information not work for you?
Please click here to contact our support via a ticket.
