This guide will show you how to Set Up Voice Chat on your V Rising Game Server.
Order your V Rising server today with AA Game Hosting by clicking here!
1. Sign In to Unity Dashboard
Go to the Unity Dashboard and either create an account or sign in if you already have one.

2. Access Vivox
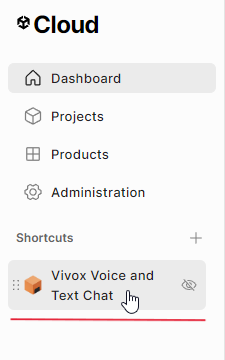
In the left-hand panel, click on Vivox Voice and Text Chat. This will prompt you to create a new project.
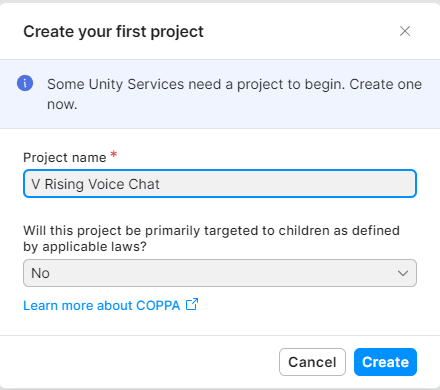
To create a project, simply enter a project name, set the second option to “No,” and click Create to finalize the setup.
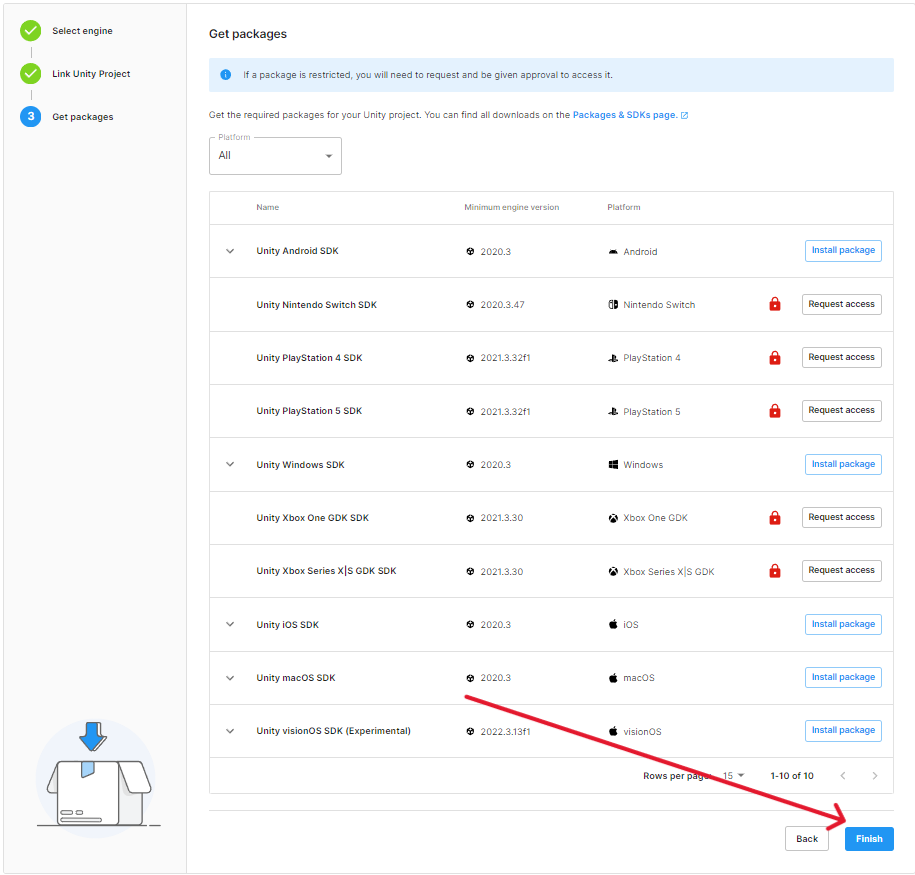
You will be directed to a Setup Guide.
In the first step, ensure that Unity is selected, then click Next until the Unity Link completes, and hit Finish.
Access your Game Panel and navigate to your V Rising server.
Navigate to your Configuration Files in the game panel, then locate and open the ServerVoipSettings.json file using the Config Editor.
![]()
Set Enable VOIP from False to True.
Fill in the following fields using the info from your Unity Vivox Dashboard:
VOIPIssuer → Token Issuer
VOIPSecret → Token Key
Voip App User ID → Your Unity account email or username
Voip App User Password → Your Unity account password
VOIPVivoxDomain → Domain
VOIPAPIEndpoint → Server
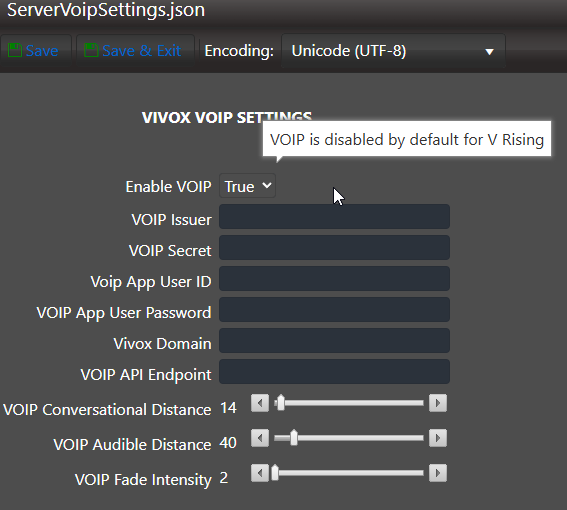
Click Save & Exit when done.
Join your V Rising server to test the voice chat. If all the information was entered correctly, it should work without any issues.
Did the above information not work for you? Please click here to contact our support via a ticket.
