
This guide will help you How to Move Your Save File onto your Sons of the Forest Server
Get Your Sons of the Forest Server Online in Minutes with AA Game Hosting
Moving your single‑player save file onto your Sons of the Forest server is a great way to continue your progress with friends or transition your world into a dedicated multiplayer environment. Whether you’re hosting a community server or just want to pick up where you left off, the process is straightforward once you know where to find the right files and how to upload them. This guide walks you through each step clearly, from locating your save file to placing it correctly on your server, so you can get back to surviving, building, and exploring without losing any of your hard‑earned progress.
Uploading Your Save to Your SOTF Server
1. Your first task is to locate your save file. The exact file path is shown in the image below, so follow that directory to access it.

When you arrive at this file location, highlight all three items and place them into a new ZIP file. This ZIP will be uploaded to your server.

2. Log in to your Game Control Panel and navigate to your service.
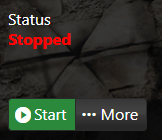
3. Before making any modifications, stop the server from running by clicking the Stop button.
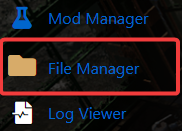
4. Navigate to the File Manager Tab to continue.
5. Navigate to your save folder to access the required files.
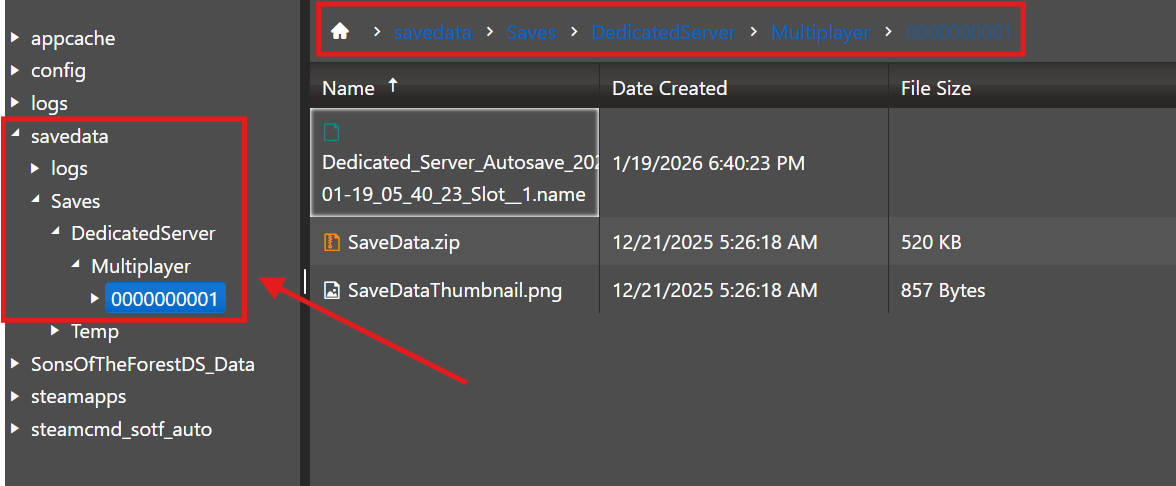
Before uploading, you may need to delete the previous files in this directory to avoid conflicts.
6. Upload the ZIP file you created earlier. To reduce the risk of corrupted files, we highly recommend using an FTP client like FileZilla.
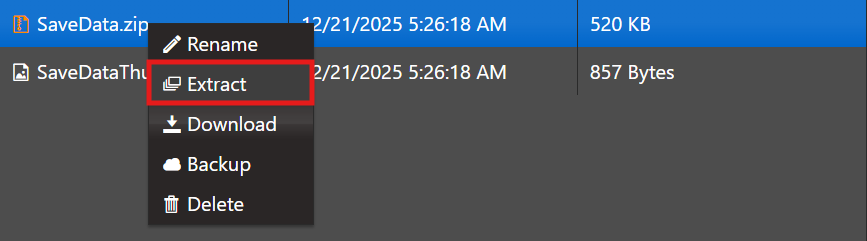
7. Once it’s on the server, right‑click it and unpack the contents.
Once the upload is complete, your save is ready to use on your Dedicated Server, allowing you to continue where you left off.
Did the above information not work for you?
Please click here to contact our support via a ticket.