
 This guide will help you How to Upload Your Local Windrose Save to Your Server
Experience Windrose Hosting — Order from AA Game Hosting!
Uploading your local Windrose save to your server is one of the most empowering steps you can take as a world‑builder. It lets you move your personal progress, creations, and adventures from your own machine into a shared, always‑online environment where others can explore and contribute. Whether you're migrating a long‑running solo world or preparing a custom map for friends, the process is straightforward once you understand where your save files live and how the server expects them to be structured. At its core, this task is about transferring the right folder, placing it in the correct server directory, and ensuring the server recognizes it as the active world. This guide will walk you through each part of that workflow so you can upload confidently, avoid common mistakes, and get your world running smoothly on your Windrose server.
Uploading a Local Save to Your Windrose Server
1. Log in to your Game Panel to begin the setup.
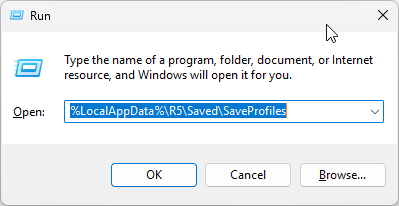
2. Press Win+R to bring up Windows Run, and enter the command below to navigate to the first save directory:
"%LocalAppData%\R5\Saved\SaveProfiles"
3. From the base directory, select your Steam ID, navigate into the game version folder, and find your world.
"<Your Steam ID>\RocksDB\<Game Version>\Worlds"
Your world save will be stored in a folder with a randomly generated name.
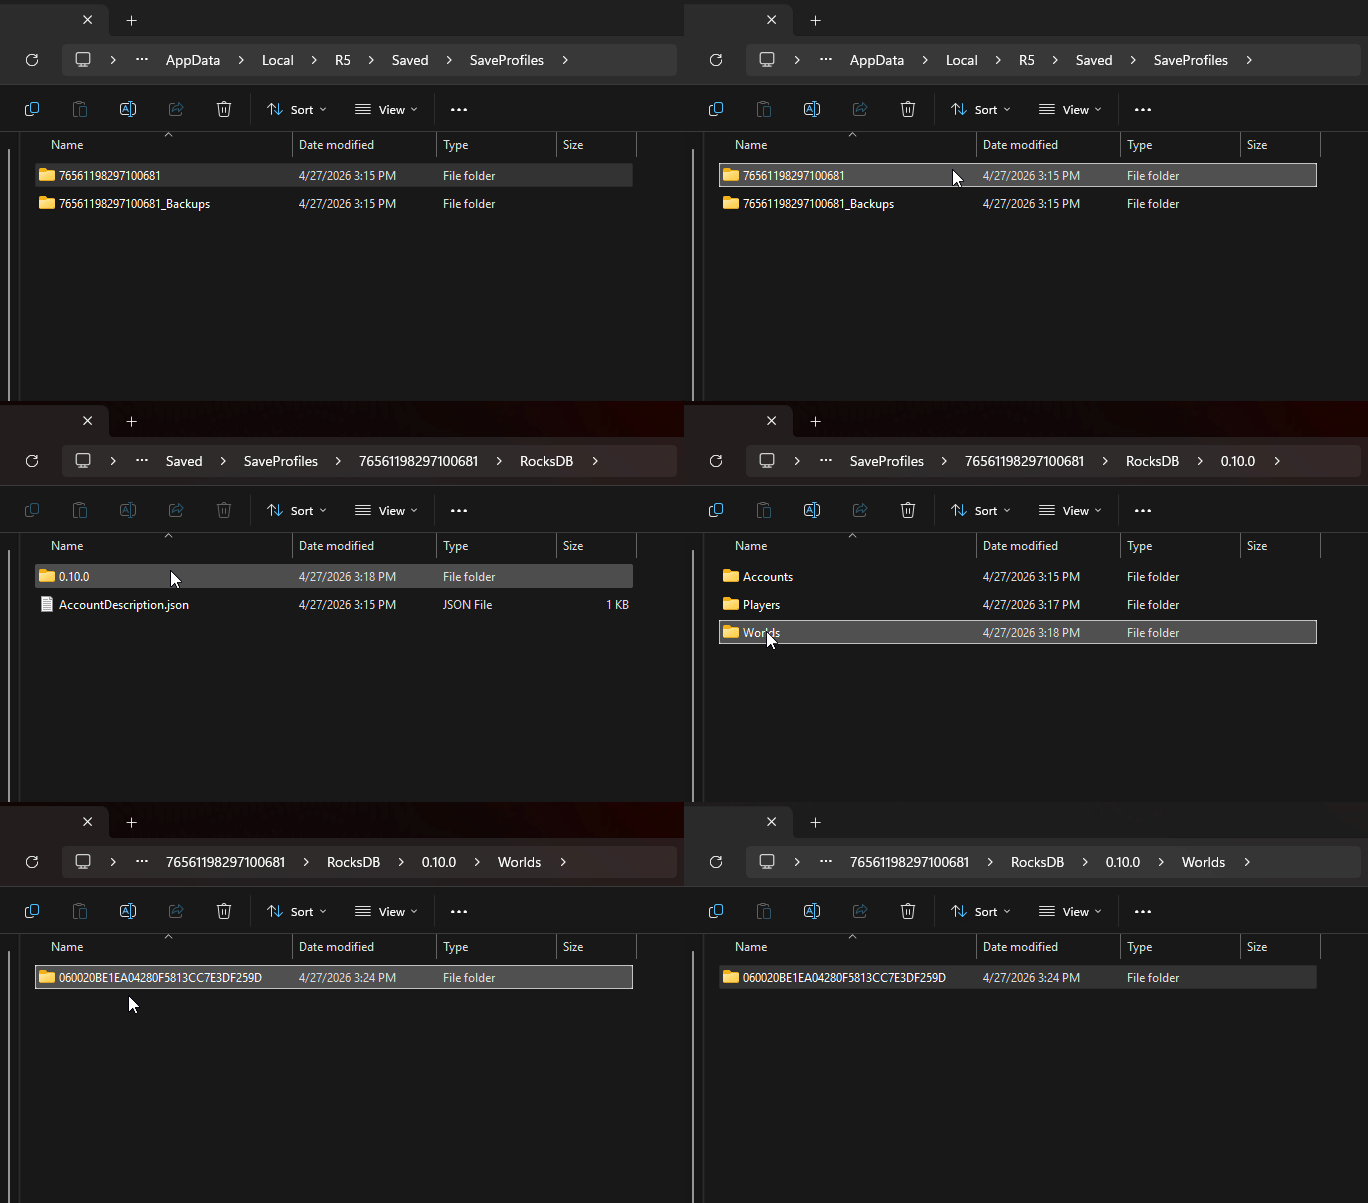
For players with multiple saves, open the game and move your cursor over each world to view its ID.
4. Upload your selected world folder into your server’s world directory using the File Manager. The correct path is: <Home>\R5\Saved\SaveProfiles\Default\RocksDB\0.10.0\Worlds
Once the folder is uploaded, your server will recognize it as an available world.
If you prefer using FTP/SFTP for faster or more reliable transfers, you can follow our FTP/SFTP guide for detailed steps.

5. After uploading the world, go to Configuration Files>R5/ServerDescription.json file and set WorldIslandId to the uploaded world’s folder name.

Click “Save” when you’re finished editing. Once the changes are saved, your server will load the world you uploaded, allowing you to continue your progress seamlessly.
If you encountered issues during the process,
Please click here to send a ticket to our team.