
This guide will help you How to Add Mods Using the Wurm Modloader
Start hosting your Wurm Unlimited world today with AA Game Hosting
Adding mods through the Wurm Modloader is the easiest and most reliable way to expand your Wurm Unlimited server with new features, quality‑of‑life improvements, and gameplay enhancements. The Modloader acts as the foundation for nearly all WU mods, allowing your server to load custom scripts, configuration files, and community‑created content without manual code changes. Once installed, it provides a clean, organized structure for managing mods and ensures they load correctly every time your server starts. This guide walks you through the full process of installing the Wurm Modloader, adding new mods to your server, enabling them through configuration files, and verifying that everything loads properly. By the end, you’ll have a fully mod‑ready server and a clear workflow for adding any future mods with confidence.
Adding and Managing Mods in Your Wurm Modloader Setup
1. Log in to your Game Control Panel and navigate to your service.
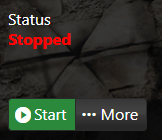
2. Before making any modifications, stop the server from running by clicking the Stop button.
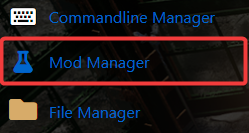
3. Navigate to the Mod Manager Tab to continue.
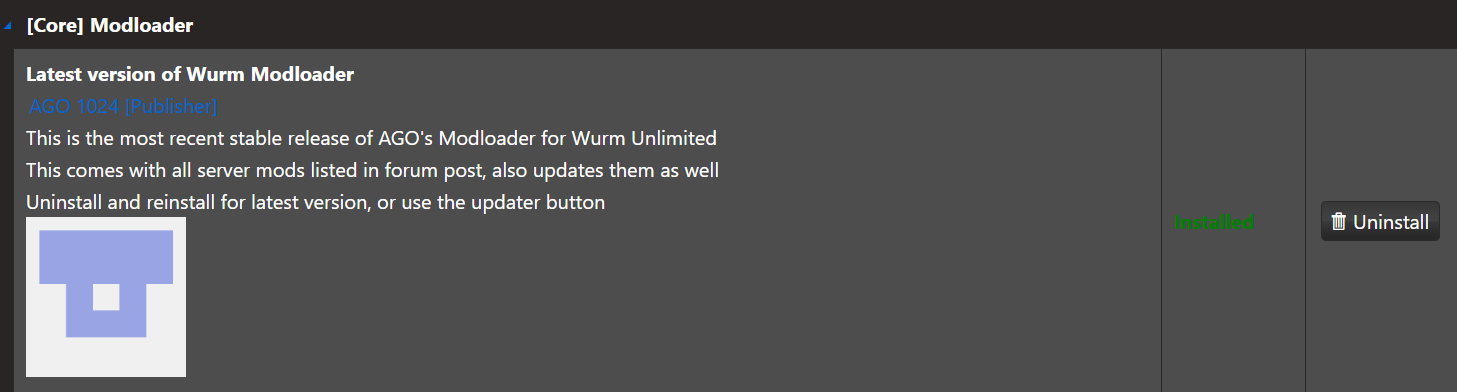
4. In the Mod Manager, click the Install button next to Wurm Modloader to add it to your server.
5. Next is to navigate to the File Manager Tab to continue.
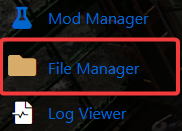
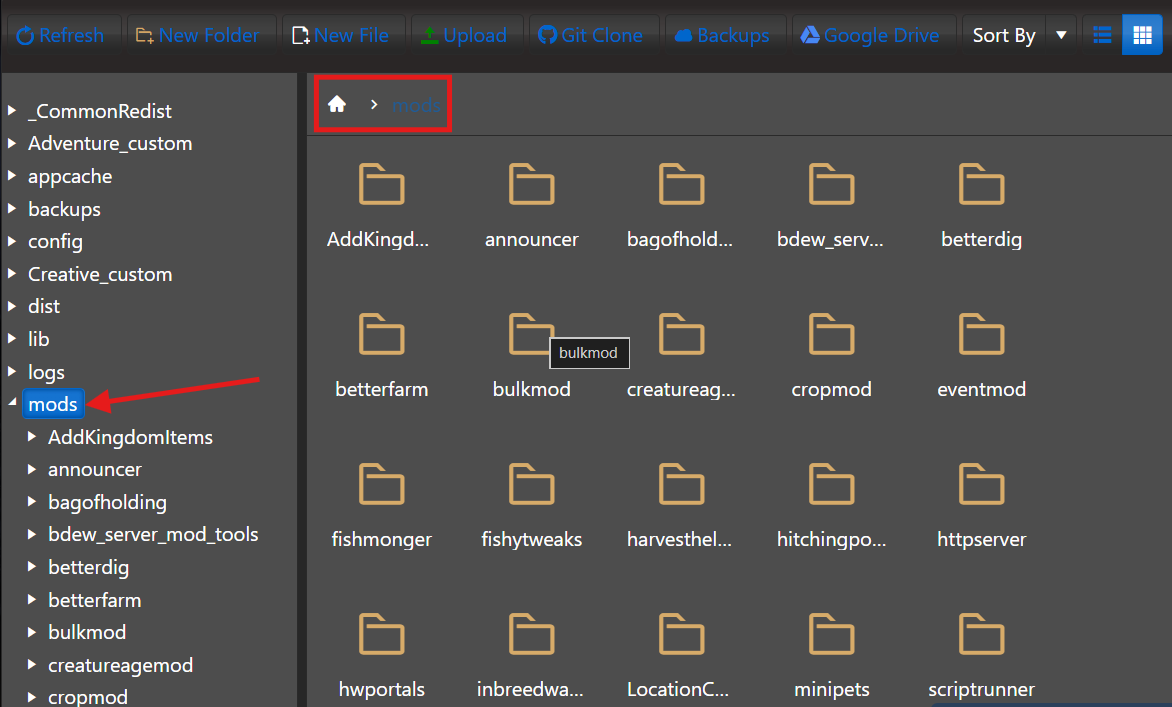
6. In the File Manager, proceed to the /mods directory in your Wurm Unlimited server files, then upload or place the mod’s folder along with its .disabled file into that directory.
7. Click the Rename button and change the mod’s .disabled file extension to .properties.
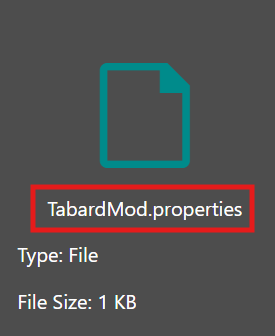
This change enables the mod.
8. Start your server, and the mod will load and run automatically.

Did the above information not work for you?
Please click here to contact our support via a ticket.