![]()
This guide will help you How to Configure Your Wurm Unlimited Server
Start hosting your Wurm Unlimited world today with AA Game Hosting
Configuring your Wurm Unlimited server is an essential step in shaping how your world operates. Everything from server identity and gameplay rules to network settings and multi‑server connections depends on these configuration files. Whether you’re preparing a single standalone server or building a larger multi‑server cluster, understanding where each setting lives and how it affects your world ensures a stable, predictable experience for your players. This guide walks you through the full configuration process using your hosting control panel, including editing ServiceSettings, updating database values, setting neighbour links, and applying the correct ports and identifiers. By the end, your server will be properly configured, fully linked, and ready to launch with the settings you intend.
Configuring Your Wurm Unlimited Server
1. Log in to your Game Control Panel and navigate to your service.
2. Before making any modifications, stop the server from running by clicking the Stop button.

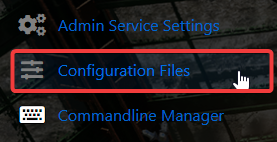
3. Navigate to the Configuration Files Tab to continue.
4. Next, find server.txt in the Configuration Files list and click Configuration Editor to continue configuring your server.
![]()
5. Here you can configure all core server options. Make sure to read the description beneath each setting to understand what it does before applying any changes.
6. Make sure every skill option ends with .0. If any skill value is missing the .0 suffix, the server will not start correctly.
7. After editing the file, click the Save button to apply the changes to your server before continuing.
![]()
8. Next, go back to the Game Control Panel and select Update Database to finalize the changes before starting your server.
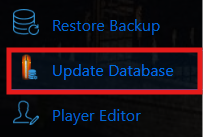
This step updates your database using the values you entered in the control panel, ensuring your server loads the correct configuration.
9. Start your server.

If it doesn’t load or you’re unable to connect, you likely have an incorrect variable in your configuration.
Review each value you set and, if needed, reset the problematic fields to their default settings before restarting the server.
Did the above information not work for you?
Please click here to contact our support via a ticket.
