![]()
This guide will help you How to Cluster Multiple Wurm Unlimited Servers
Start hosting your Wurm Unlimited world today with AA Game Hosting
Clustering multiple Wurm Unlimited servers allows you to link separate maps into a single connected world, giving players the freedom to travel between servers, explore new regions, and enjoy a seamless multi‑map experience. Whether you’re expanding an existing world or building a full network of custom maps, clustering provides the flexibility to scale your server environment and create a richer, more dynamic gameplay experience. This guide walks you through the process of clustering multiple Wurm Unlimited servers, from preparing each server instance to configuring the travel settings that tie them together. By the end, you’ll have a fully linked cluster that players can move between effortlessly, opening the door to larger worlds, specialized maps, and more creative server designs.
Multi‑Server Clustering for Wurm Unlimited
(Important: This setup requires both SQLite Database Browser and a File Manager/FTP client. Ensure these tools are ready before proceeding.)
1. Download the appropriate SQLite Database Browser for your operating system. For best results, use the portable version, as it requires no installation and works immediately.

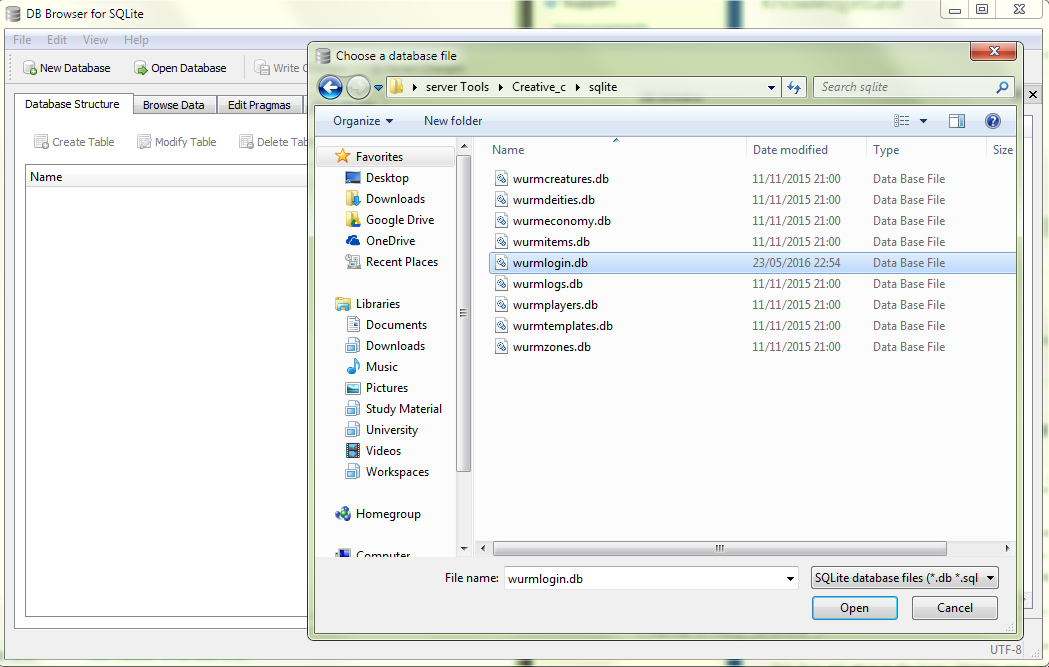
2. In SQLite Database Browser, open the wurmlogin.db file is found in your server’s SQLite folder.
3. Click Open Database from the top toolbar to load your wurmlogin.db file.
4. Locate your server’s database directory and open the SQLite folder where the database files are stored.
5. Select the wurmlogin.db file to load the server’s login database.
6. Switch to the Browse Data tab, the second tab from the left, to view and edit table entries.
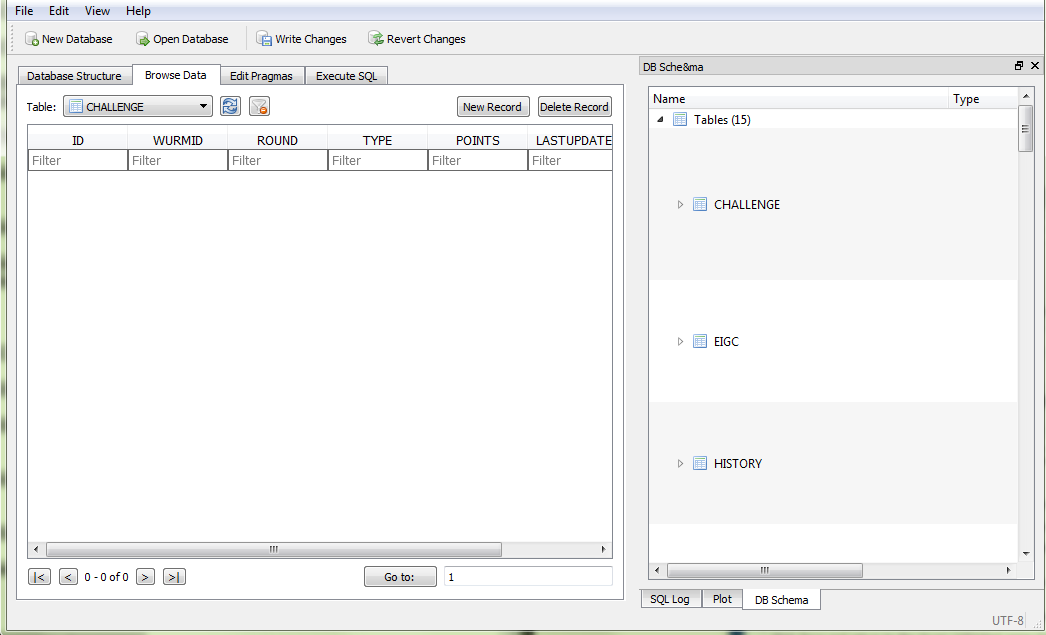
7. From the Table dropdown menu, select SERVERS to access the list of configured servers.

8. On the right-hand side, click New Record to create a new server entry.
9. Begin by assigning a unique Server ID in the SERVER column. Each server in the cluster must have its own distinct ID.
Be sure to keep track of the Server IDs for the existing server and the new server. These IDs are essential for the next step and future configuration steps.
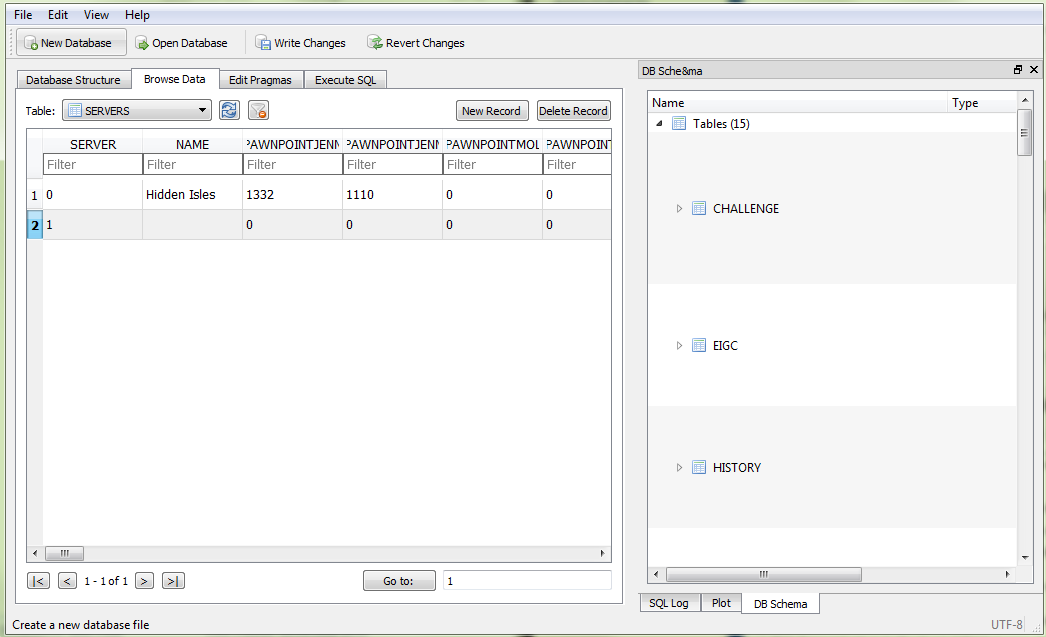
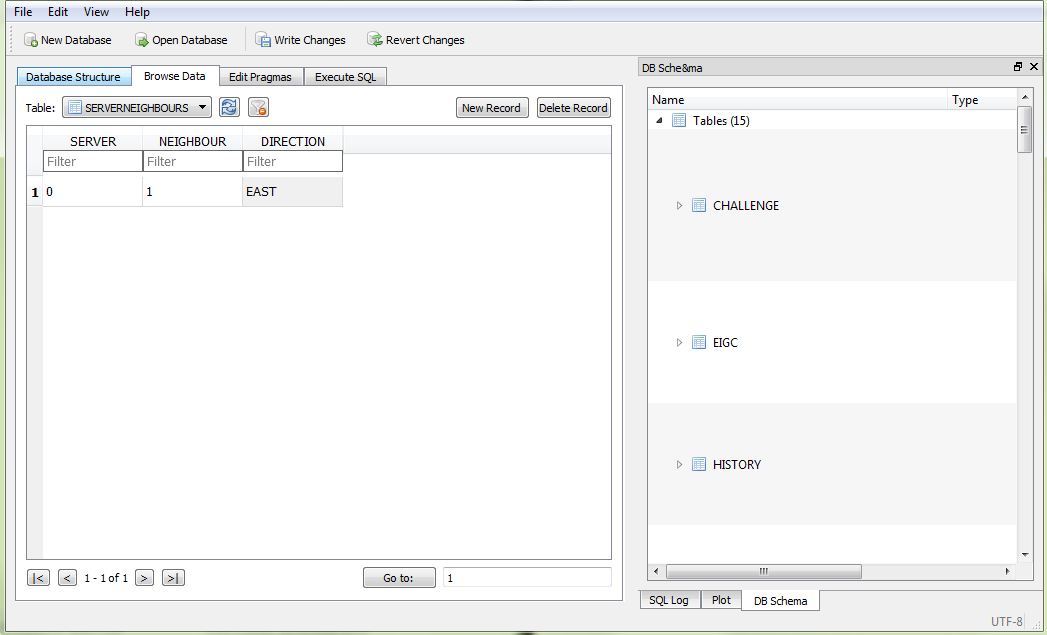
10. From the Table dropdown menu, select SERVERNEIGHBOURS to begin configuring the connections between your servers.
11. The SERVERNEIGHBOURS table holds the data that defines each server’s neighbors. This is where you configure how servers connect and allow travel between them.
12. Find the record for your existing server and type the new server’s Server ID into the NEIGHBOUR column. This links the existing server to the new one.
13. In the DIRECTION column, choose the direction that represents the new server’s position relative to the existing server. This determines the travel direction between the two servers.
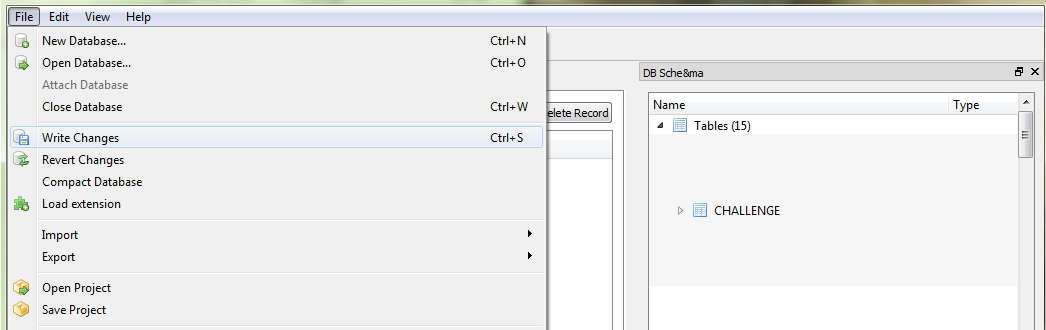
14. Save the updated records by pressing Ctrl+S, or by selecting Write Changes from the File menu. This commits your changes to the database.
15. Use your preferred FTP client or file manager to upload the complete database folder to your server. Make sure all files, including wurmlogin.db, are included.
16. Log in to your Game Control Panel and navigate to your service.
17. Before making any modifications, stop the server from running by clicking the Stop button.

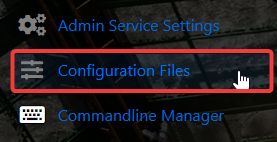
18. Navigate to the Configuration Files Tab to continue.

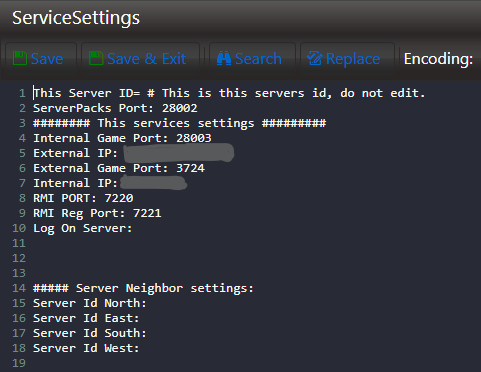
19. Go to the Configuration Files page and, in the Actions column for ServiceSettings, select Text Editor to open the file for editing.
![]()
20. Write down the Internal Server Port, External Server Port, RMI Port, and RMI Reg Port. These values will be required in the next configuration steps.
21. Return to the Configuration Files page. In the Actions column for ServiceSettings, select Configuration Editor to open the settings in the visual editor.
![]()
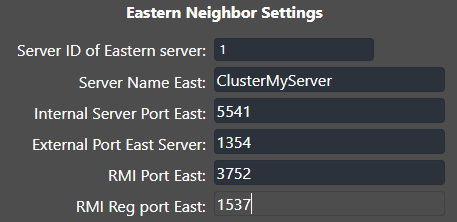
22. Look for the Neighbour Settings block that corresponds to the DIRECTION you set in the SERVERNEIGHBOURS table. This is where you’ll enter the ports and details for that neighboring server.
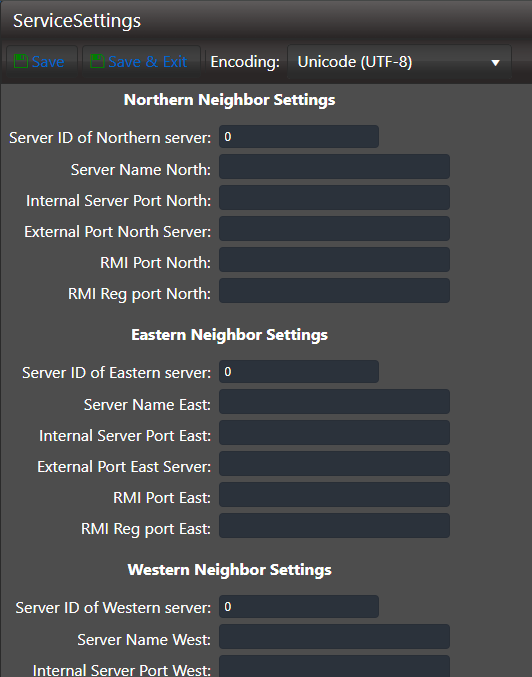
23. In the “Server ID of Eastern server:” field, input the Server ID you chose for the new server in the SERVER table. This assigns the new server as the eastern neighbor.
24. In the remaining fields, enter the second server’s name and the corresponding port information you recorded earlier. This ensures the existing server can correctly communicate with the new neighbor.
25. Click Save to store your configuration changes.
![]()
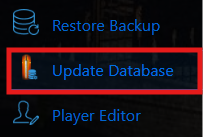
26. Then select Update Database (Click before Starting Server) to finalize the update before launching your server.
27. Navigate to the Configuration Files tab again to proceed with the remaining configuration steps.
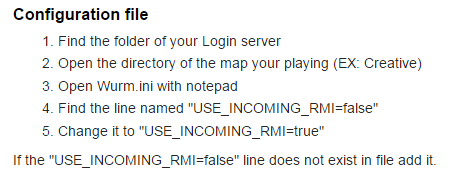
28. In the Configuration Files tab, follow these steps to continue with the setup.
Did the above information not work for you?
Please click here to contact our support via a ticket.
