![]()
This guide will help you add and configure the Wurm Online Map Viewer on Your Server
Start hosting your Wurm Unlimited world today with AA Game Hosting
Adding the Wurm Online Map Viewer to your server gives your players an interactive, real‑time way to explore the world, track deeds, view terrain, and monitor server activity outside the game. Whether you’re hosting a private community, running a public PvE or PvP world, or managing a multi‑server cluster, the Map Viewer provides a clean, browser‑based interface that makes navigation and server management significantly easier. This guide walks you through the full process of installing, configuring, and deploying the Map Viewer on your server, from preparing the required files to customizing settings and ensuring the viewer updates correctly with your server’s map dumps. By the end, you’ll have a fully functional, web‑accessible map viewer that integrates seamlessly with your Wurm Online server environment.
Installing the Wurm Online Map Viewer on Your Server
1. Log in to your Game Control Panel and navigate to your service.
2. Before making any modifications, stop the server from running by clicking the Stop button.

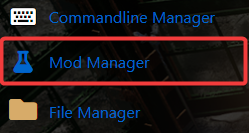
3. Navigate to the Mod Manager Tab to continue.
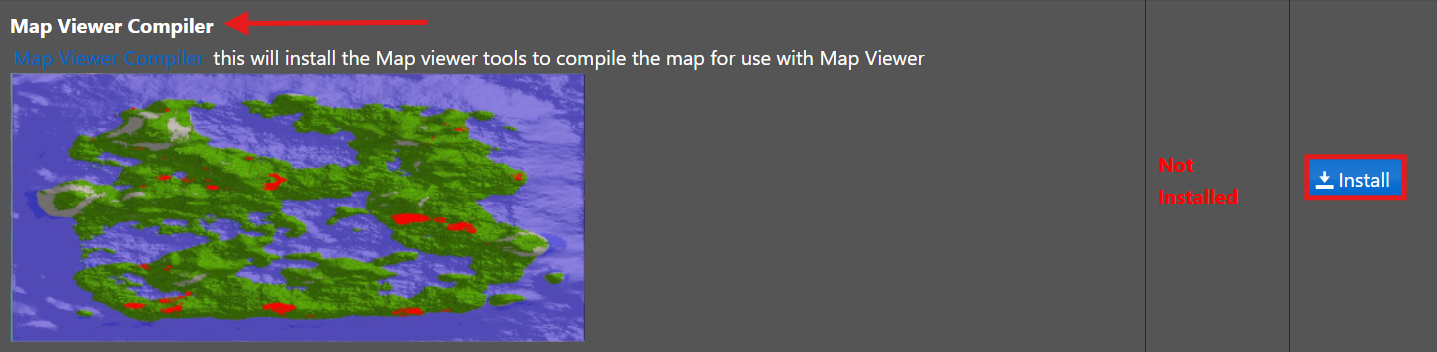
5. Navigate to Wurm Tools, locate Map Viewer Compiler, and press Install to begin the installation on your server.
7. Once the Online Map Viewer is installed, generate your map by selecting Compile MapViewer Map from your control panel.
8. The map will now compile. After the process is complete, close the pop-up to continue.
9. After that, run Fast Downloads Sync from the control panel to push the updated map files to your FastDL folder.
10. When the process is done, your map is fully compiled. To open it, simply click the FastDL URL found next to Fast Downloads in your control panel.
11. You may also view the map by manually entering the mapvieweroutput directory in your browser.
Configuring the Online Map Viewer Settings
While the default Online Map Viewer settings are generally ideal, you can change them at any time by heading to Configuration Files in your control panel.
1. Log in to your Game Control Panel and navigate to your service.
2. Before making any modifications, stop the server from running by clicking the Stop button.
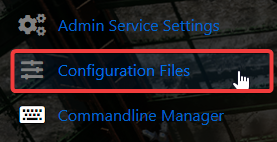
3. Navigate to the Configuration Files Tab to continue.
4. From the list, press Text Editor next to mapviewer.cfg to begin editing the Map Viewer settings.
5. With mapviewer.cfg open, you’ll be able to view and modify the available settings.
6. Do not alter MAP_DIRECTORY or OUTPUT_DIRECTORY unless you specifically need to point MAP_DIRECTORY to a different map folder (e.g., Creative_c). SECTION_SIZE should ideally remain at its default setting for proper map generation.
Your control panel allows you to create a scheduled task to automate map compilation. For guidance on setting up scheduled tasks, click here. The Fast Downloads Sync button cannot yet be automated, but this is planned for a future update.
