
This guide will help you How to Configure and Install Popular Mods on your Wurm Unlimited Server
Start hosting your Wurm Unlimited world today with AA Game Hosting
Configuring and installing mods is one of the most effective ways to enhance your Wurm Unlimited server, expand gameplay options, and tailor the experience to your community. From quality‑of‑life improvements to full gameplay overhauls, the WU modding ecosystem, powered by Ago’s Modloader and dozens of community‑maintained mods, gives server owners complete control over how their world behaves. This guide walks you through the full process of preparing your server for modding, installing the most commonly used mods, and configuring them to suit your server’s needs. You’ll learn how to set up the server‑side modloader, upload and manage mod files, adjust configuration settings, and ensure everything loads correctly on startup. By the end, your server will be fully mod‑enabled and ready to run the most popular and essential Wurm Unlimited mods.
Make sure you have downloaded the mod you want to install. Most mods come as a .zip file containing the mod files (often including a .jar file).
Installing Popular Mods on your Wurm Unlimited Server
1. Log in to your Game Control Panel and navigate to your service.
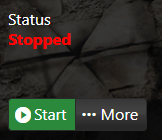
2. Before making any modifications, stop the server from running by clicking the Stop button.
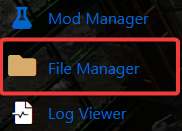
3. Navigate to the File Manager Tab to continue.
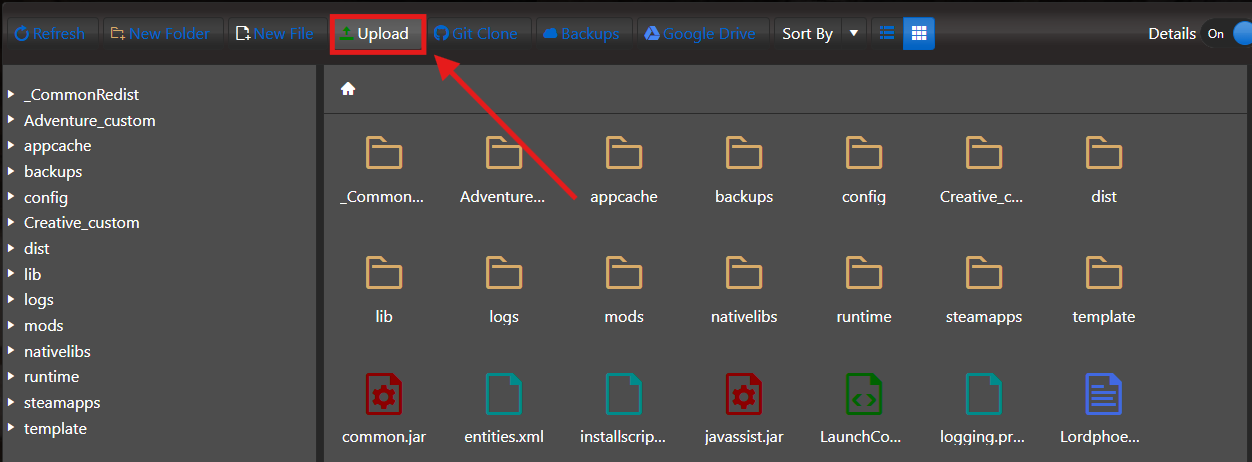
4. Select Upload, then locate and choose the mod’s .zip archive from your local system.
5. When the upload is complete, right‑click the .zip file in your file manager and select Extract to unpack its contents.
6. Start your server and connect to it in‑game to ensure the mod loads properly and behaves as expected.

Did the above information not work for you?
Please click here to contact our support via a ticket.