![]()
This guide will help you with how to assign admin permissions in The Isle Server
Launch Your Isle Server Today with AA Game Hosting
Assigning admin permissions on your The Isle server is essential for maintaining control, enforcing rules, and keeping gameplay running smoothly. Whether you’re managing a small private community or a busy public server, giving trusted players the right level of access ensures that moderation tasks can be handled quickly and effectively. This guide walks you through where to configure admin roles, how to assign permissions, and what each setting means so you can build a reliable and secure administration structure for your server.
Setting Admin Roles on Your The Isle Server
1. Log in to your Game Control Panel and navigate to your service.
2. Before making any modifications, stop the server from running by clicking the Stop button.

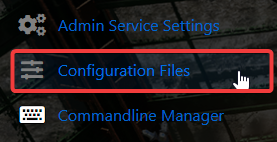
3. Navigate to the Configuration Files Tab to continue.
4. In the Config Editor, open the Game.ini file.
Locate the [ /Script/TheIsle.TIGameSession ] section and add the following line beneath it:
ServerAdmins=xxxxxxxxxxxxxxxxx
ServerAdmins=xxxxxxxxxxxxxxxxx
4. Enter your Admin's Steam ID (found in the in-game tab or in the address bar of Steam).
5. When you’re finished, click Save to ensure all adjustments are applied.
![]()
Did the above information not work for you?
Please click here to contact our support via a ticket.
