![]()
This guide will help you on how to mount contents from other games on your Garry's Mod server.
Click here to order your Garry's Mod server with AA Game Hosting today!
One of the unique features of Garry’s Mod is its ability to mount content from other Source Engine games. This means you can bring in maps, models, textures, and sounds from titles like Counter-Strike: Source, Half-Life 2, or Team Fortress 2 to enrich your Garry’s Mod experience. Without mounting, you might encounter missing textures (the infamous purple-and-black checkerboard) or error models, which can break immersion and gameplay. Mounting content is essentially telling Garry’s Mod where to find the assets from other games you own. Once mounted, those assets become available for use in your server or single-player sessions, opening up a huge library of environments and props. By the end, you’ll understand how to unlock the full potential of Garry’s Mod by seamlessly integrating assets from other Source games, ensuring smoother gameplay and a richer creative toolkit.
Mounting Contents from other Games on your Garry's Mod Server
1. Log in to your Game Control Panel and navigate to your service.
2. Before making any modifications, stop the server from running by clicking the Stop button.

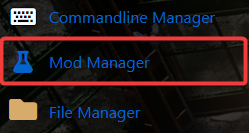
3. Navigate to Mod Manager Tab.
4. On the Mod Manager Tab, look for Mountable Content and install the games that you wanted to mount on your server.

After you've downloaded the content you can find it in your "File Manager".
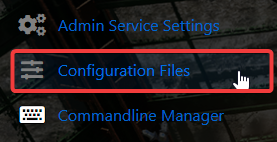
5. Next is navigate to Configuration Files Tab.
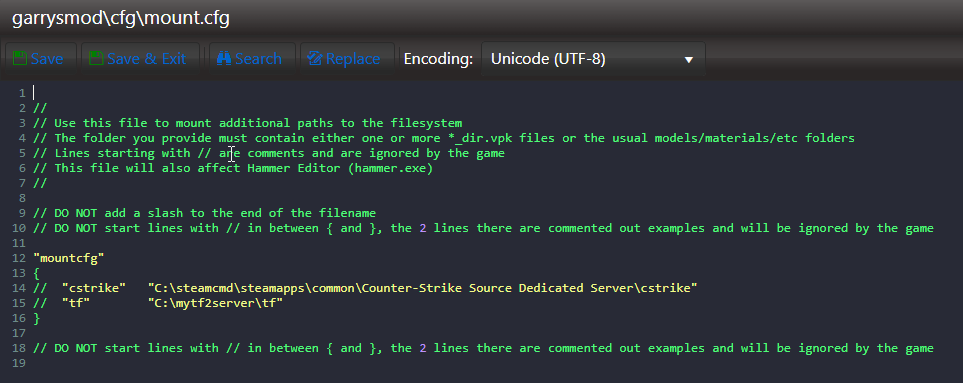
6. On the Configuration Files, look for mount.cfg file and click the Text Editor.

7. With mount.cfg you can specify folders to add to the filesystem. Garry's Mod will scan the file, mount the folders and any vpk files inside that folder.
8. Since we've already downloaded the Counter-Strike: Source content earlier, all we need to do now is enter the location of the content into this file. Take your server's IP, which should look something like this:
69.30.224.73:27021 (You can find your server's IP next to "Connection Info" in your control panel)
And replace the colon (:) with an underscore (_), like this:
69.30.224.73_27021
And that's it, you're done! The next time you start your server your mounted content should be showing up.
Did the above information not work for you?
Please click here to contact our support via a ticket.
