![]()
This guide will help you on How to setup caves on your Don't Starve Together Server.
Not a client yet? Order a Don't Starve Together server today with AA Game Hosting
Caves are an essential feature in Don’t Starve Together, offering players access to unique resources, biomes, and challenges that are not available on the surface world. Enabling caves on your server not only enriches gameplay but also provides a more complete survival experience, as many advanced crafting recipes and late-game strategies depend on cave exploration. This guide will walk you through the process of setting up caves on your DST server. Whether you’re hosting a dedicated server or running a local world, you’ll learn the key steps to configure your server settings, ensure stability, and troubleshoot common issues. By the end, you’ll have a fully functional cave system seamlessly connected to your overworld, ready for you and your friends to explore.
- a "Caves Only" Server instead of the forest/overworld which only requires one server,
- and a "Multi-Level" Server where you will need to rent two servers from us, one acting as the Master server (aka forest/overworld) and one as the Slave server (aka caves).
1. Log in to your Game Control Panel and navigate to your service.
2. Before making any modifications, stop the server from running by clicking the Stop button.

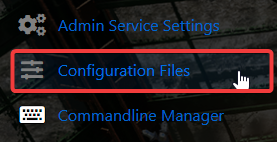
3. Go to Configuration Files.
4. On the Configuration Files, look for ServiceSettings.cfg file and click the Text Editor.
![]()
5. Take note of the Shard Master Port as we will be using this shortly. Close this window after you've noted the port number.
![]()
6. Next, click on the Config Editor button beside the cluster.ini file.

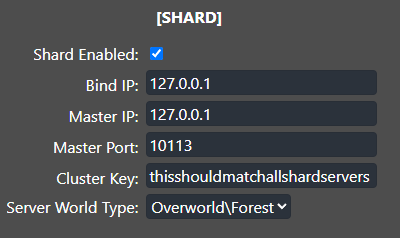
7. Scroll down to the [SHARD] section and refer to the settings below and modify them accordingly.
shard_enabled = true
bind_ip = 127.0.0.1 (NOTE: This should always be "127.0.0.1")
master_ip = 127.0.0.1 (NOTE: This should always be "127.0.0.1")
master_port = Server's Master Port (NOTE: Input the server's master port in that we copied earlier from ServiceSettings.cfg)
cluster_key = thisshouldmatchallshardservers
server type = Caves
8. After editing, click the Save button to apply the changes on your server.
![]()
9. After that, click on the Text Editor button beside the server.ini files. There are currently two server.ini files which you will both edit.

10. You'll want to make sure that the parameter is_master = true is present in both files.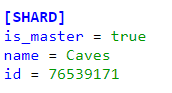

11. After editing, click the Save button to apply the changes on your server.
![]()
12. Start your server and then you want to connect to your server as admin and regenerate the world by typing "c_regenerateworld()" in the console, or through the "Web Console" in the control panel.
![]()
Setting up a "Multi-Level Server" (Clustering)
1. Log in to your Game Control Panel and navigate to your service.
2. Before making any modifications, stop the server from running by clicking the Stop button.
3. Go to Configuration Files.
4. On the Configuration Files, look for ServiceSettings.cfg file and click the Text Editor.
![]()
5. Take note of the Shard Master Port as we will be using this shortly. Close this window after you've noted the port number.
![]()
6. Next, click on the Config Editor button beside the cluster.ini file.
7. Scroll down to the [SHARD] section and refer to the settings below and modify them accordingly.


![]()
9. After that, click on the Text Editor button beside the server.ini files. There are currently two server.ini files which you will both edit.

is_master = true is present in both files.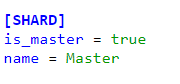
11. After editing, click the Save button to apply the changes on your server.
![]()
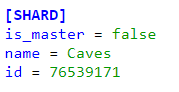
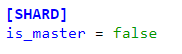
12. For your Slave server, you'll want to make sure that the parameter is_master = false is present instead.
![]()
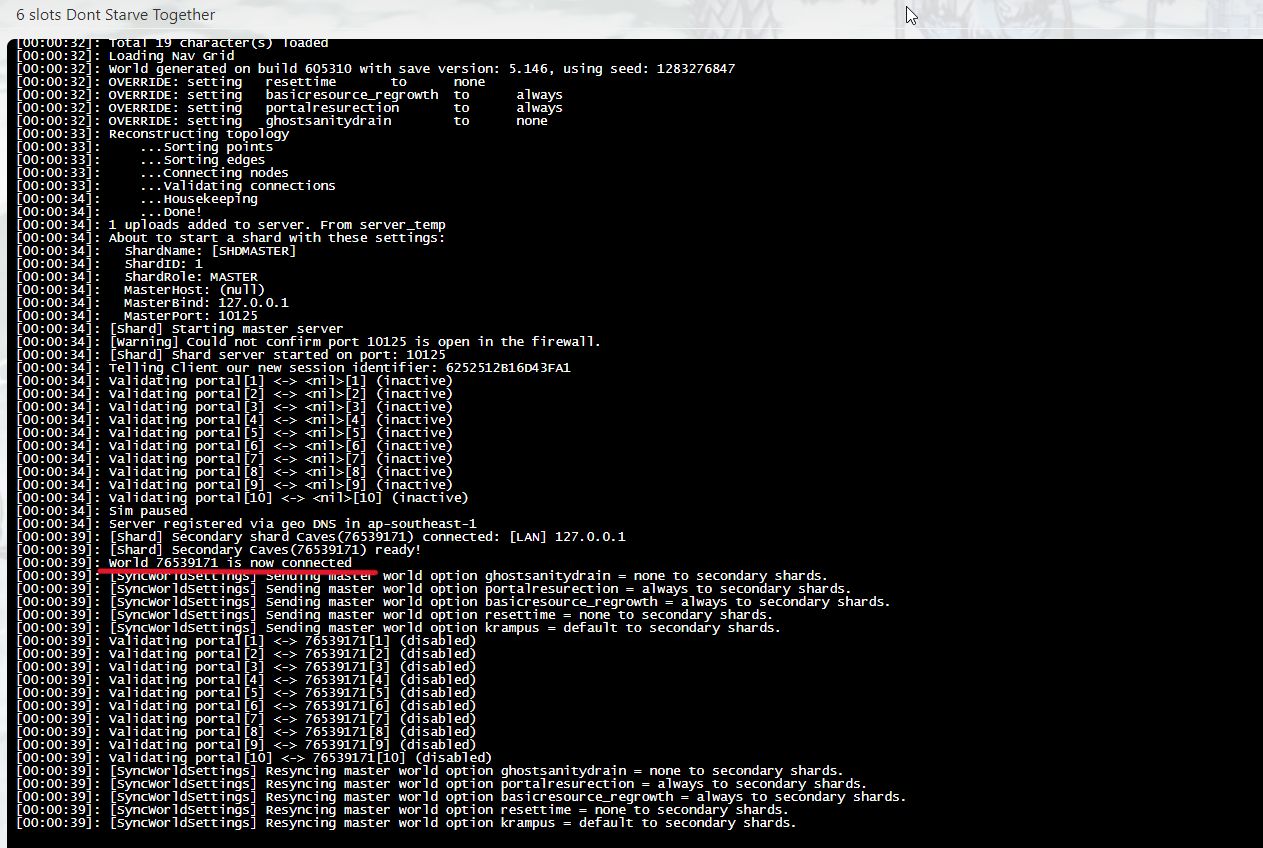
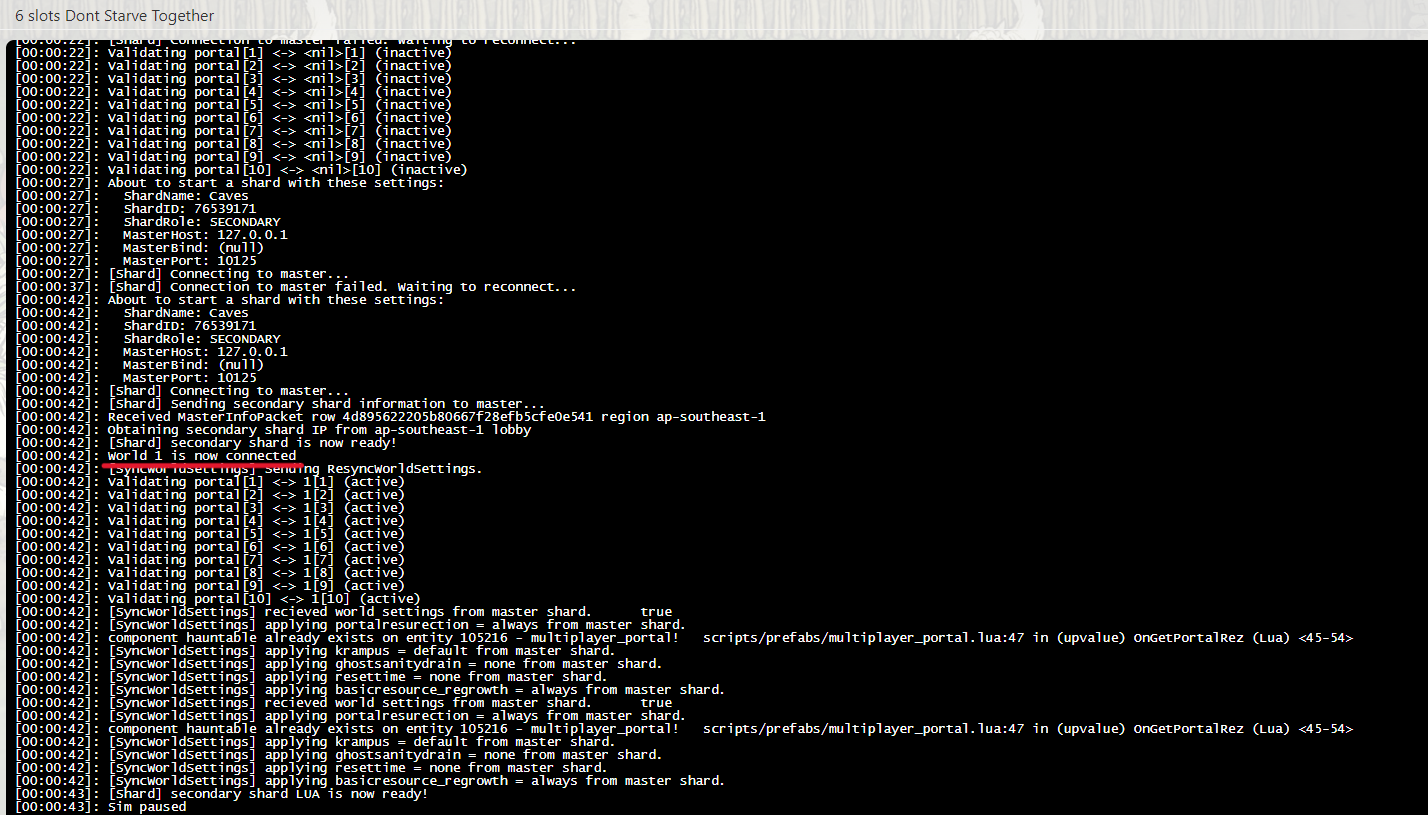
14. Start both of the server. After they initialize, you should see them connect to each other in their respective logs.
- Different Gamemodes: Both servers need to be running the same game mode.
- Wrong Master Port: Make sure both servers are using the Master server's port.
- Wrong IP Address: Both servers should use "127.0.0.1" local IP as they should be on the same IP address.
- Not on the same dedicated server: Both servers should be on the same dedicated server. This removes any latency delays and improves connectivity. If they aren't on the same dedicated server, please contact our support.
Did the above information not work for you?
Please click here to contact our support via a ticket.
