Quickly update your Minecraft server version using AA Game Hosting's Game Panel.
This guide walks you through updating Java, selecting the right Forge version, and getting your server ready to play.
Steps to Change Your Minecraft Server Version
1. Access the Game Panel
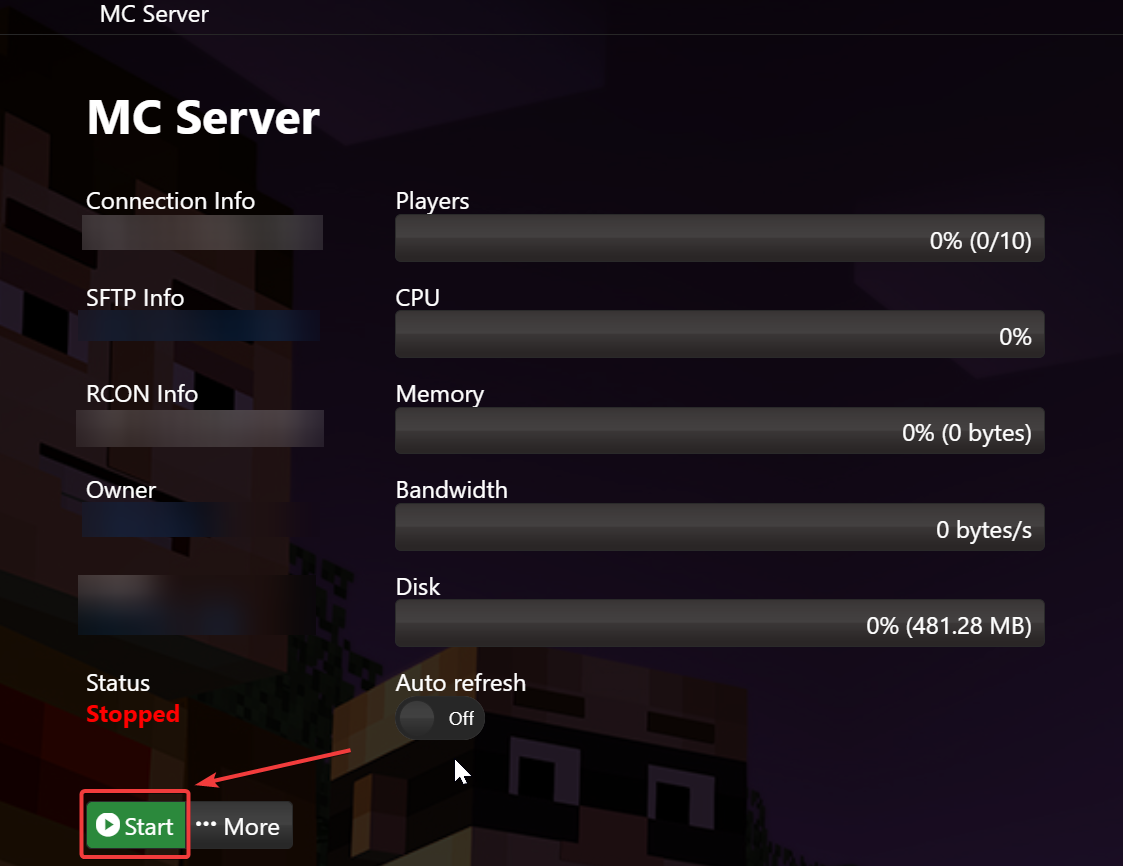
Log in to the AA Game Hosting Game Panel and navigate to your Minecraft server.
Before continuing, make sure your server is stopped by clicking the Stop button.
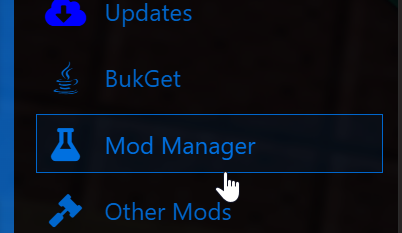
2. Go to the Mod Manager
From the left-hand menu, click on "Mod Manager."
3. Check Your Java Version
In the Java section, verify that the latest Java version is installed.
If you're already using the latest version, proceed to Step 5.
If not, uninstall the current version.
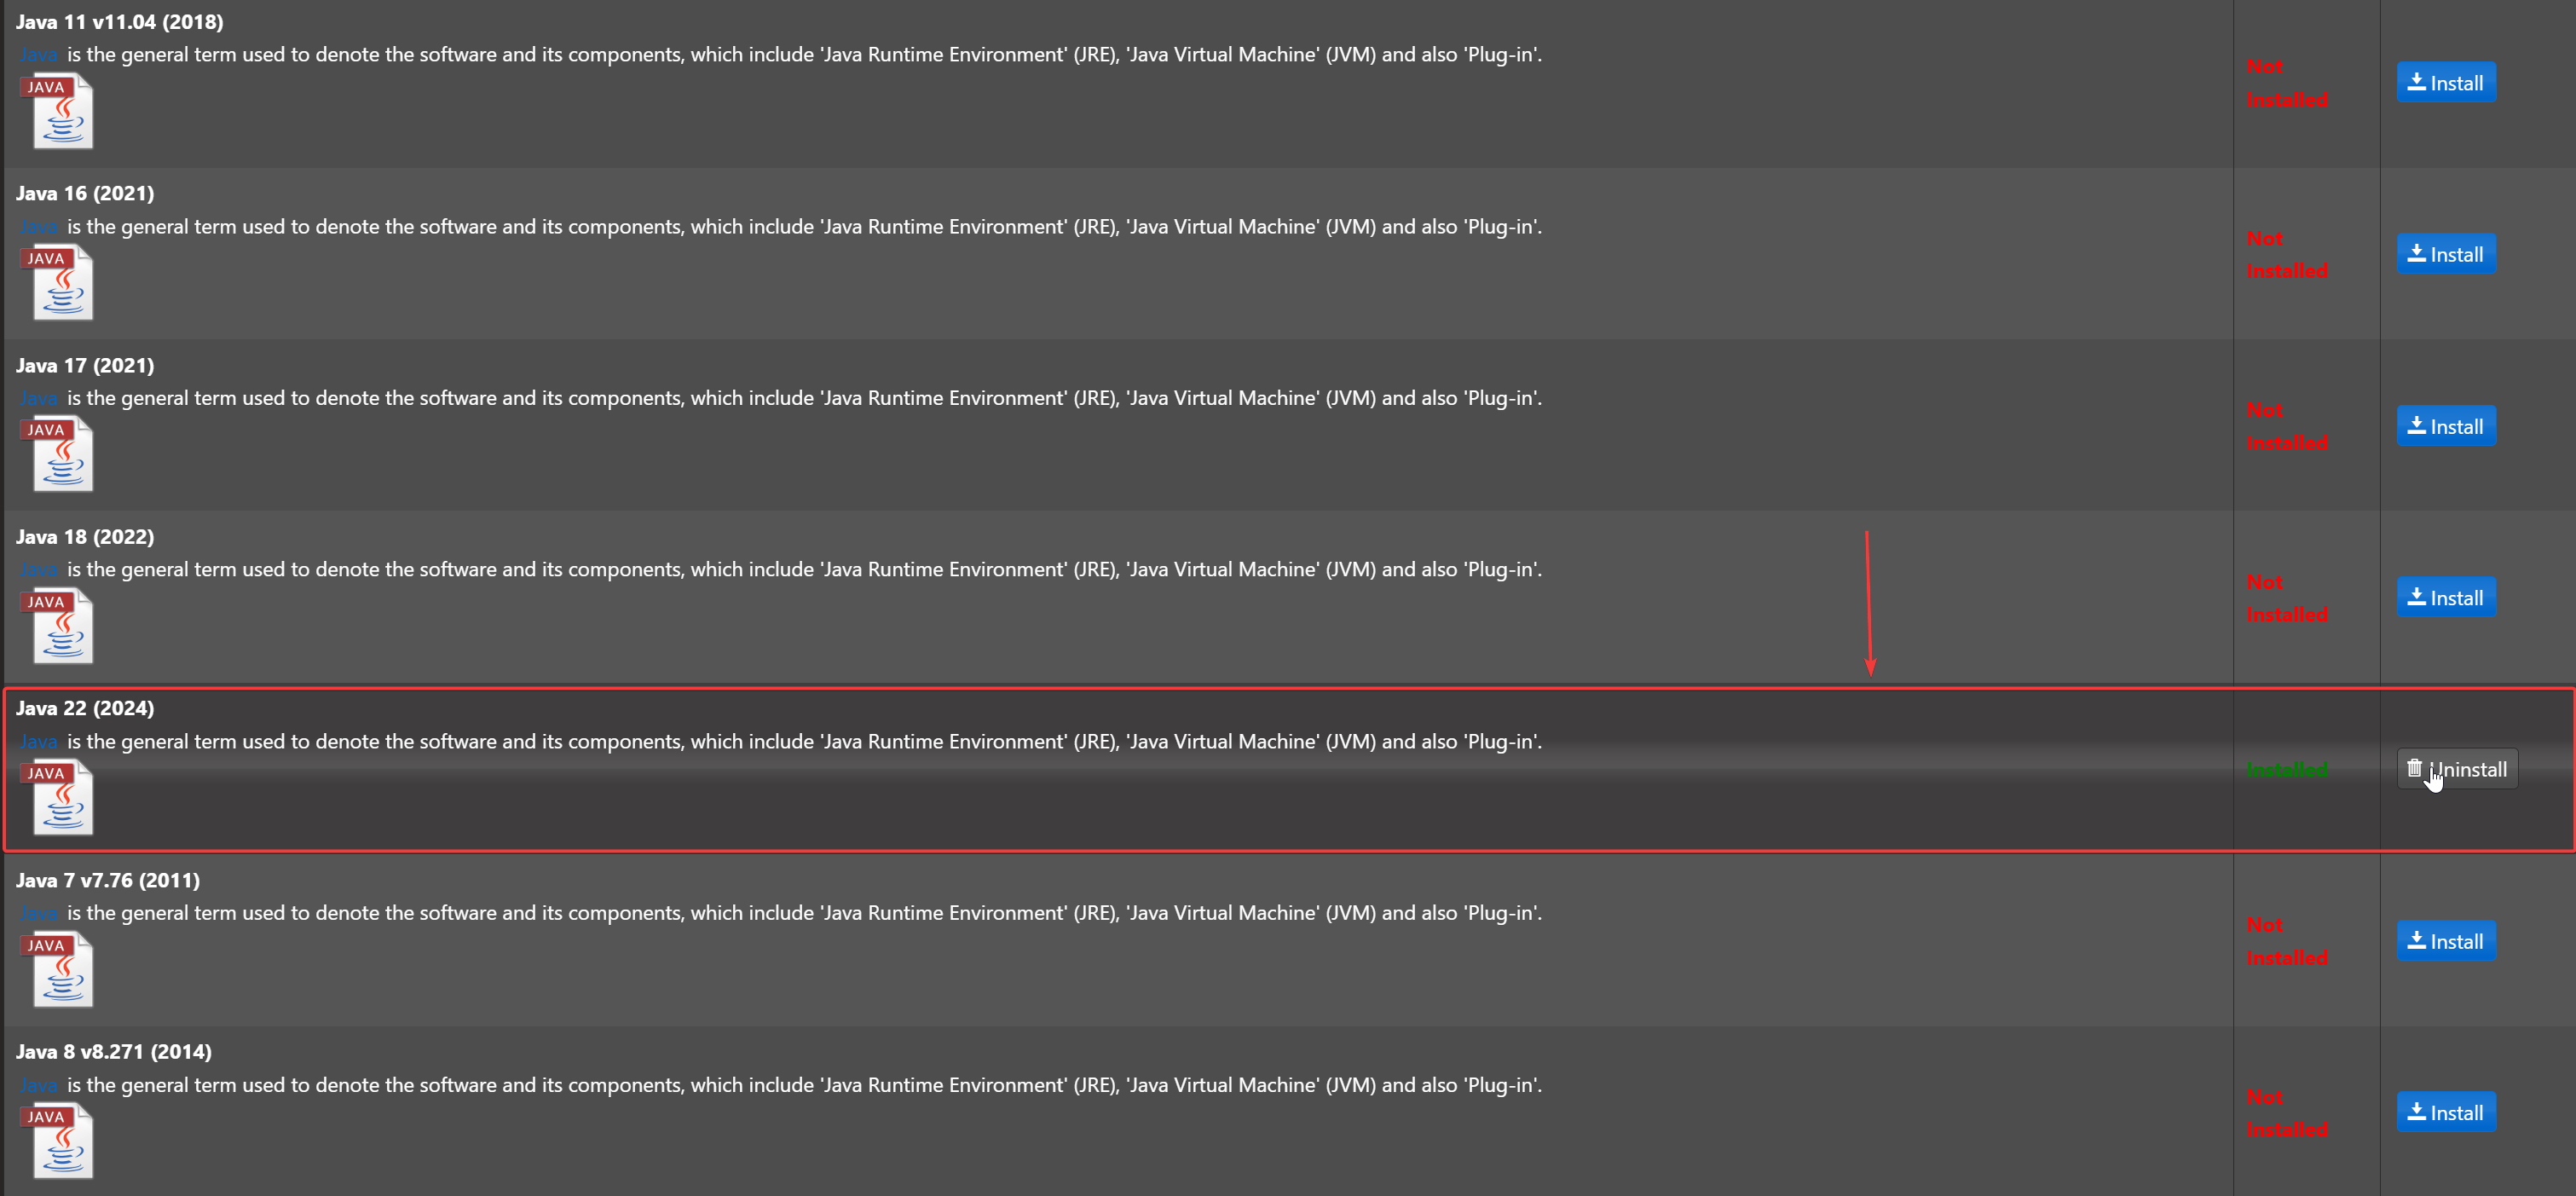
4. Install the Latest Java Version
Install the newest version available (e.g., Java 18) from the Mod Manager.
5. Install Minecraft Forge
Navigate to the Minecraft Forge section and select the version you want to install.
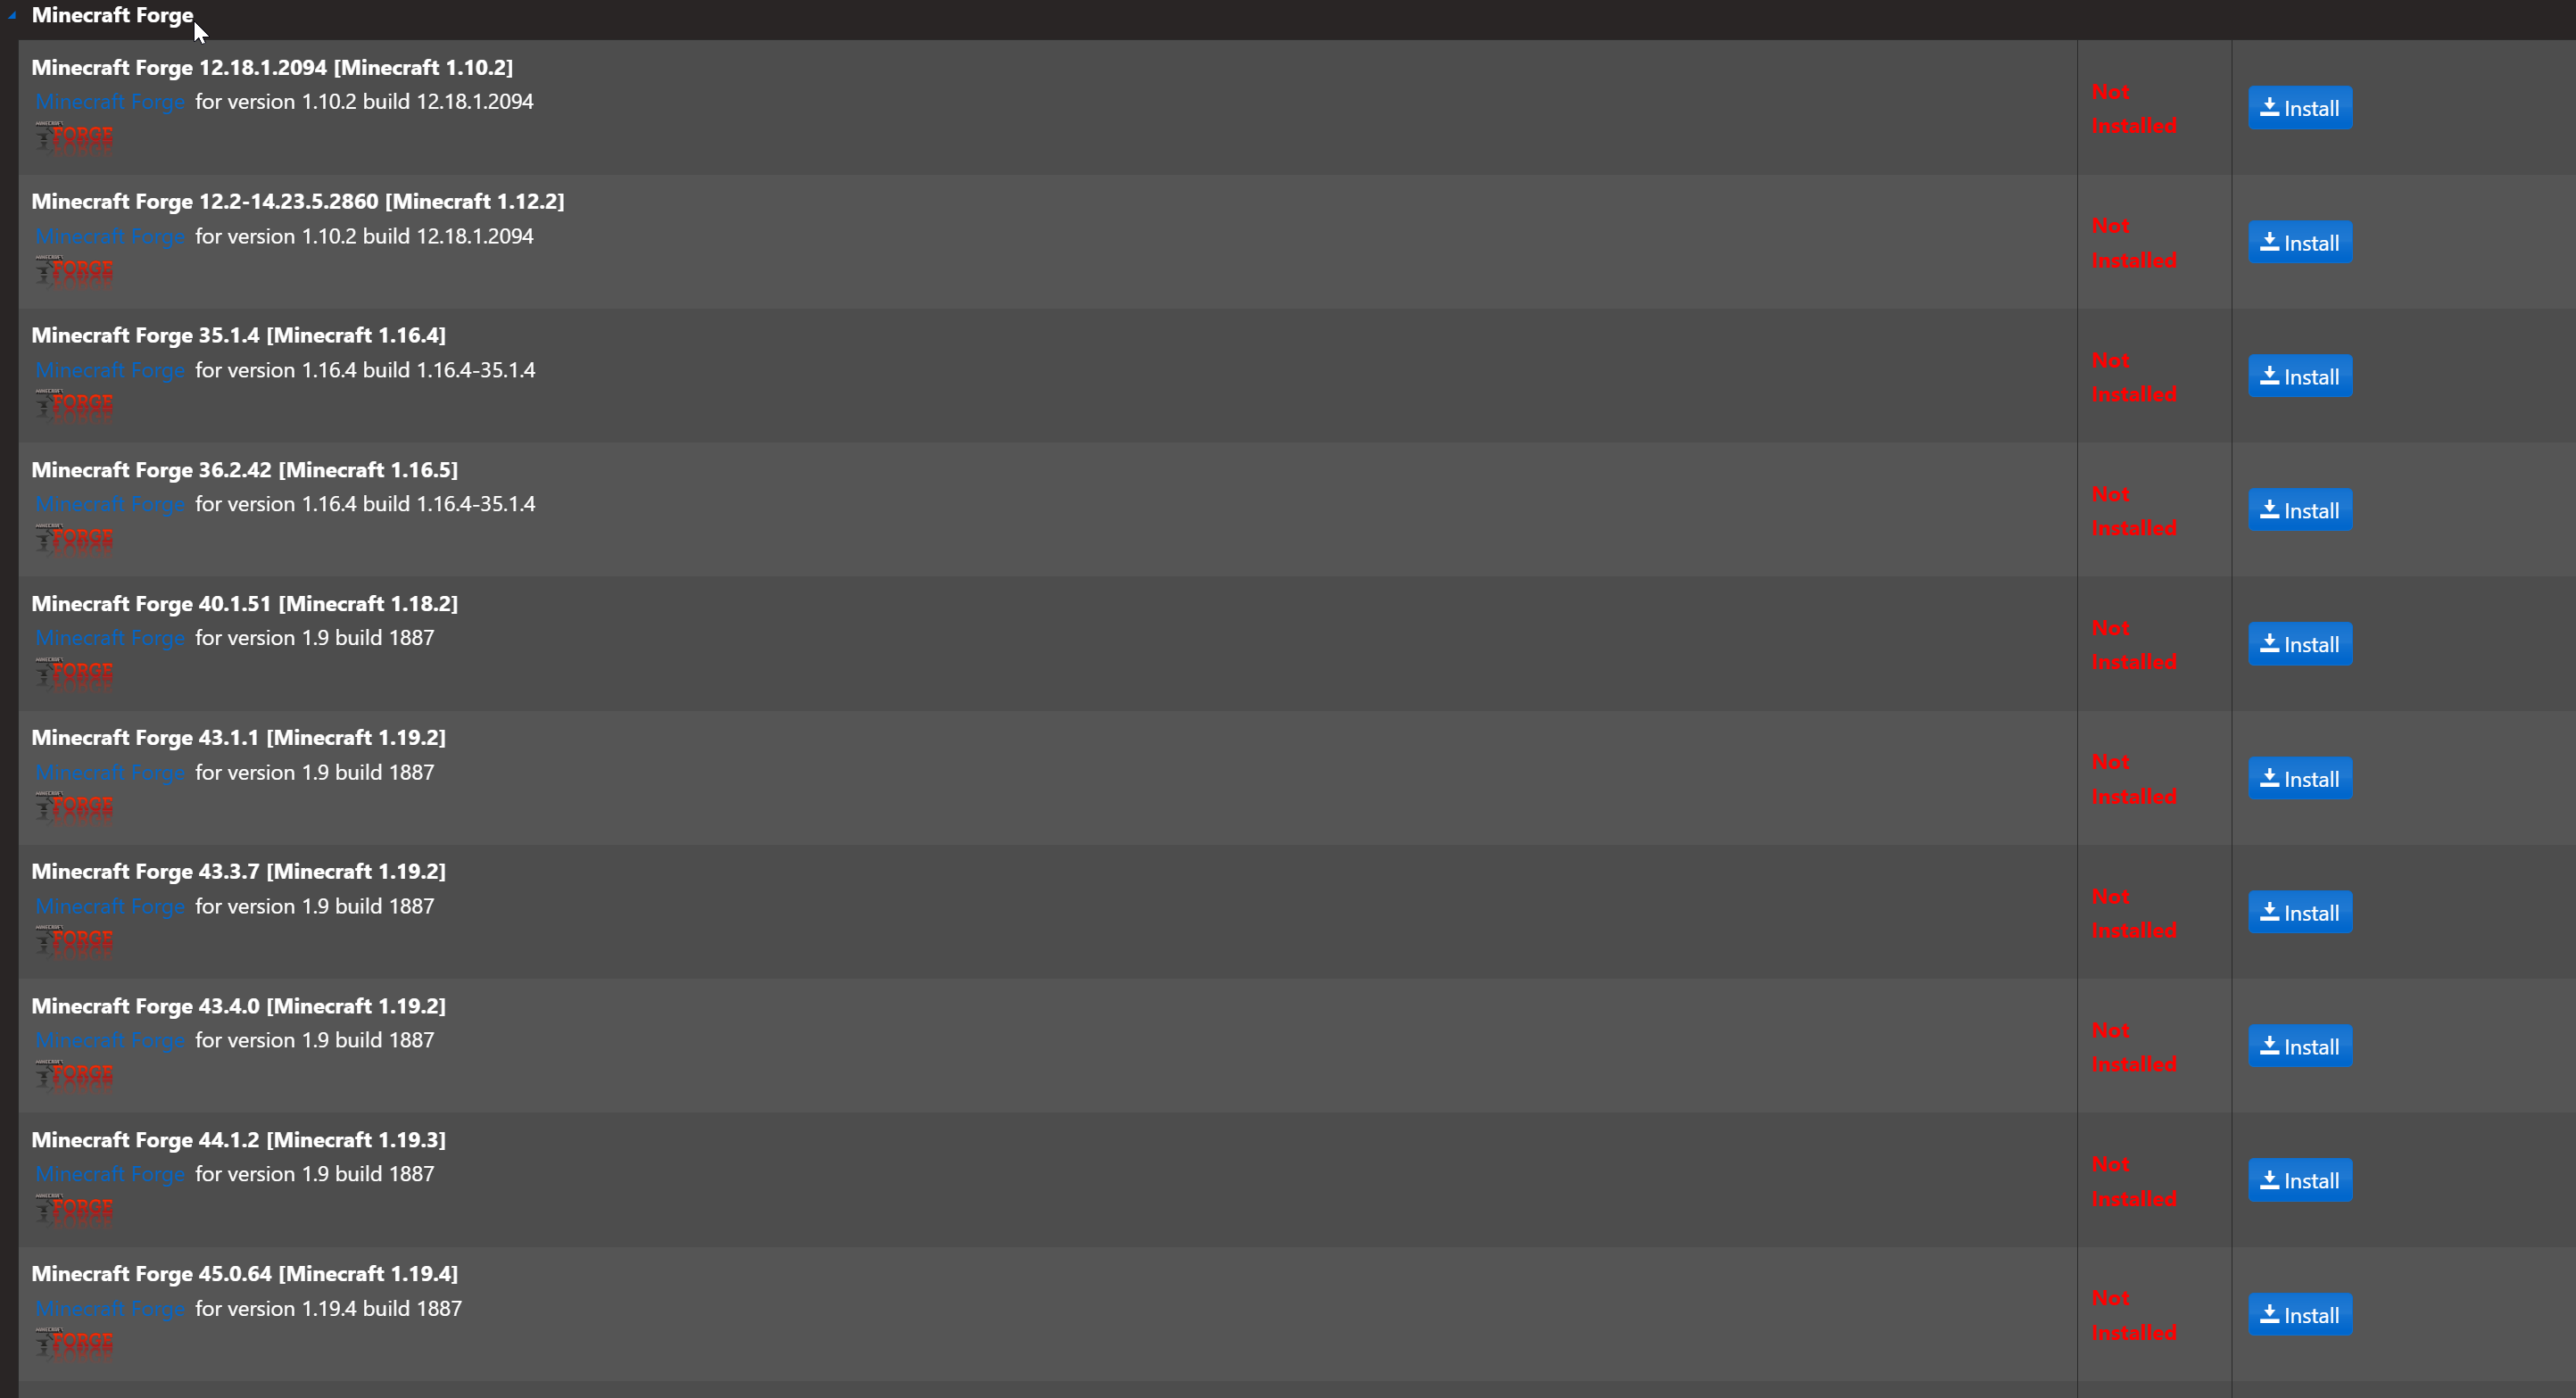
Important: Take note of the Forge version. You’ll need to use the same version for your client and mods.
6. Start Your Server
Return to the Game Panel and click Start to launch your server with the new version.
7. Connect with the Correct Setup
Double-check that your Minecraft client and mods match the server’s version, then connect and enjoy your updated server!
Click here to order your Minecraft server with AA Game Hosting today.
Did the above steps not work for you? Please contact our support and we'll help you out!
