![]()
This guide will help you How to Set Up Admins on your Team Fortress 2 Server
Buy Your Team Fortress 2 Server Today and Start Playing Immediately
Setting up admins on your Team Fortress 2 server is essential for maintaining order, managing players, and keeping your community running smoothly. With the help of SourceMod’s powerful admin system, you can assign permissions, create different access levels, and give trusted players the tools they need to moderate your server effectively. This guide walks you through the full process of adding and configuring admins, ensuring your server has a reliable and secure administration setup. By the end, you’ll have a properly structured admin system that’s easy to manage and tailored to your server’s needs.
Adding Admins to Your TF2 Server
(NOTE: Before you begin, make sure the following mods are installed through your game panel: SourceMod and MetaMod.)
1. Log in to your Game Control Panel and navigate to your service.
2. Before making any modifications, stop the server from running by clicking the Stop button.

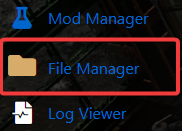
3. Navigate to the File Managers Tab to continue.
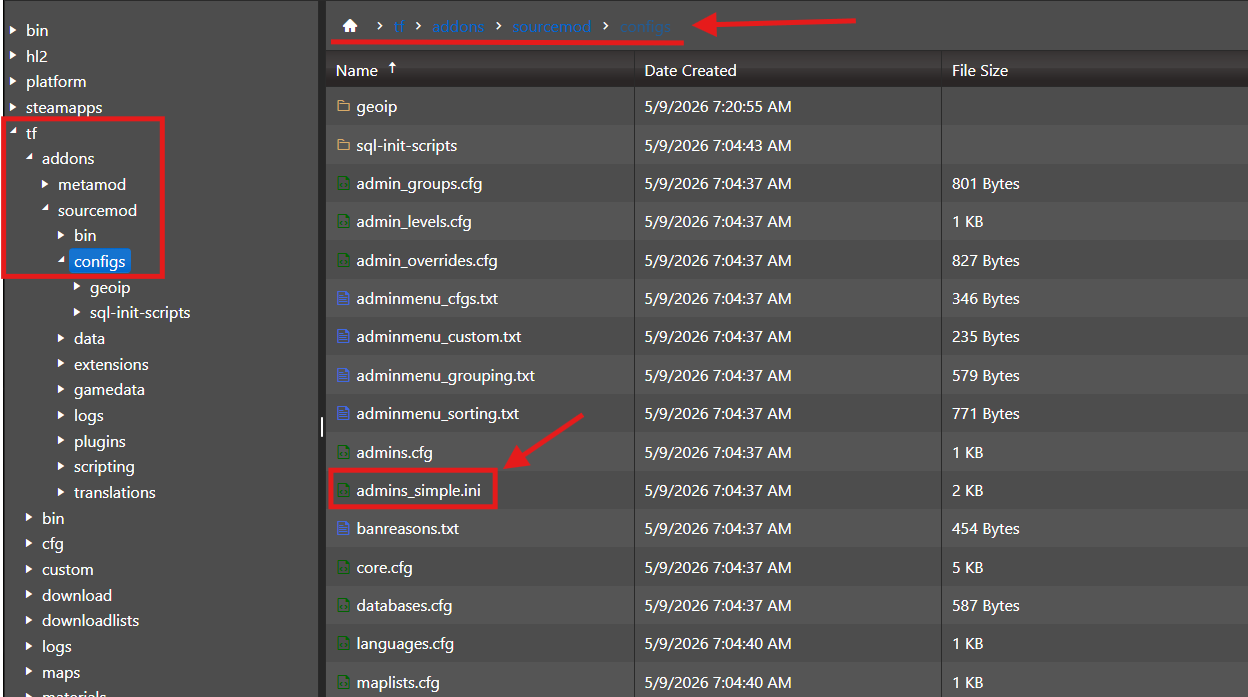
4. Navigate to the following directory: tf/addons/sourcemod/configs/ and open the file admins_simple.ini.
5. At the bottom of the file, add your admin entry using the following format:
"Your In-Game Name or SteamID" "flags" "password (optional)"
Example:
"STEAM_0:1:12345678" "z" ""
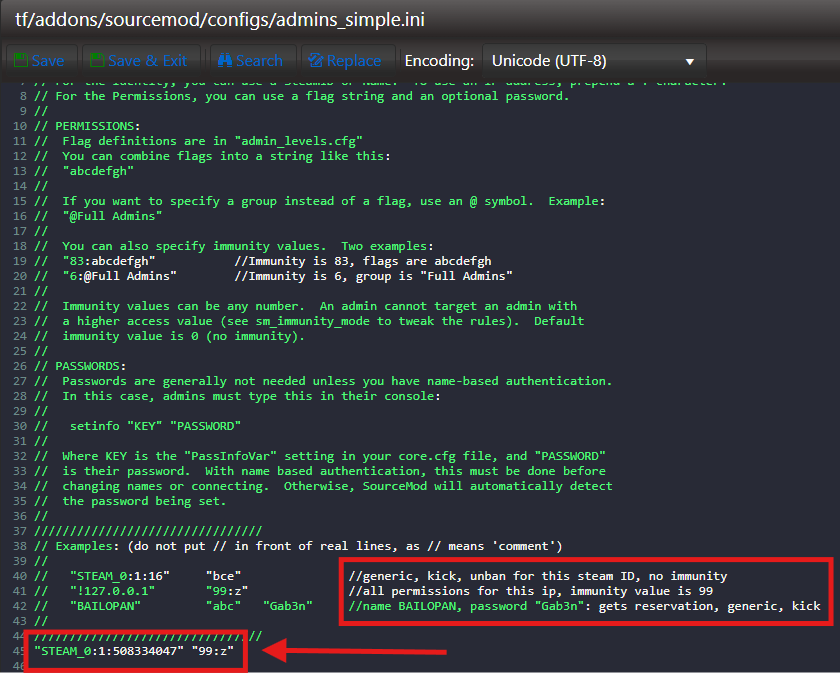
The (z)Flag grants full administrator access.
6. After making your changes, click the Save button so the server can apply them.

7. Start the server and launch the game client.

8. Open the in‑game console and enter the following command: bind j sm_admin. This command assigns the admin menu to the J key.
9. Join your server, then press J in‑game. The SourceMod admin menu will open, allowing you to perform admin actions.
Did the above information not work for you?
Please click here to contact our support via a ticket.
