![]()
This guide will help you set up Subnautica Nitrox and the Legacy Edition.
Order Your Subnautica Server Now and Start Exploring Instantly
Setting up Subnautica Nitrox—whether you’re using the current release or the older Legacy Edition—opens the door to true multiplayer exploration in Subnautica’s underwater world. Because Nitrox is a fan‑made mod with multiple versions, installation steps can vary depending on which build you choose and how your game is configured. This guide walks you through everything you need to know, from preparing your Subnautica installation to installing both the modern Nitrox client and the Legacy version used by older servers. By the end, you’ll have a fully working setup and be ready to dive into cooperative survival beneath the waves.
Installing Subnautica Nitrox and Its Legacy Build
1. Log in to your Game Control Panel and navigate to your service.
2. Before making any modifications, stop the server from running by clicking the Stop button.

3. Navigate and run the Steam Update Tab to continue.
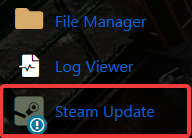
Allow the installer to run until it displays “The process has been completed.”
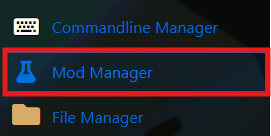
4. Locate the Subnautica Mod Manager in your game panel.
Proceed with installing the latest available release.

5. Once the installation is complete, go ahead and start your server.

For the older Legacy versions:
1. Locate the Subnautica Server Updater in your panel.

2. Select the Legacy build and start the update process. Wait for the confirmation: “The script has executed successfully. You may close the window.”

3. Locate the Subnautica Mod Manager in your game panel.
Proceed with installing the latest available release.
4. Once the installation is complete, go ahead and start your server.
5. Keep an eye on the Web Console until you see “Server started”. It will then output “Use IP to connect:”.
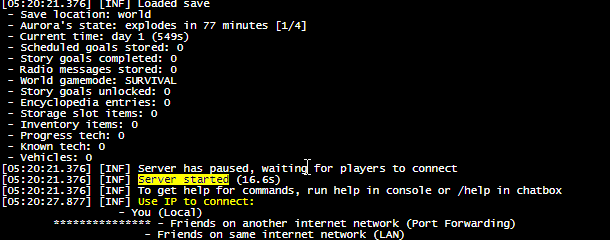
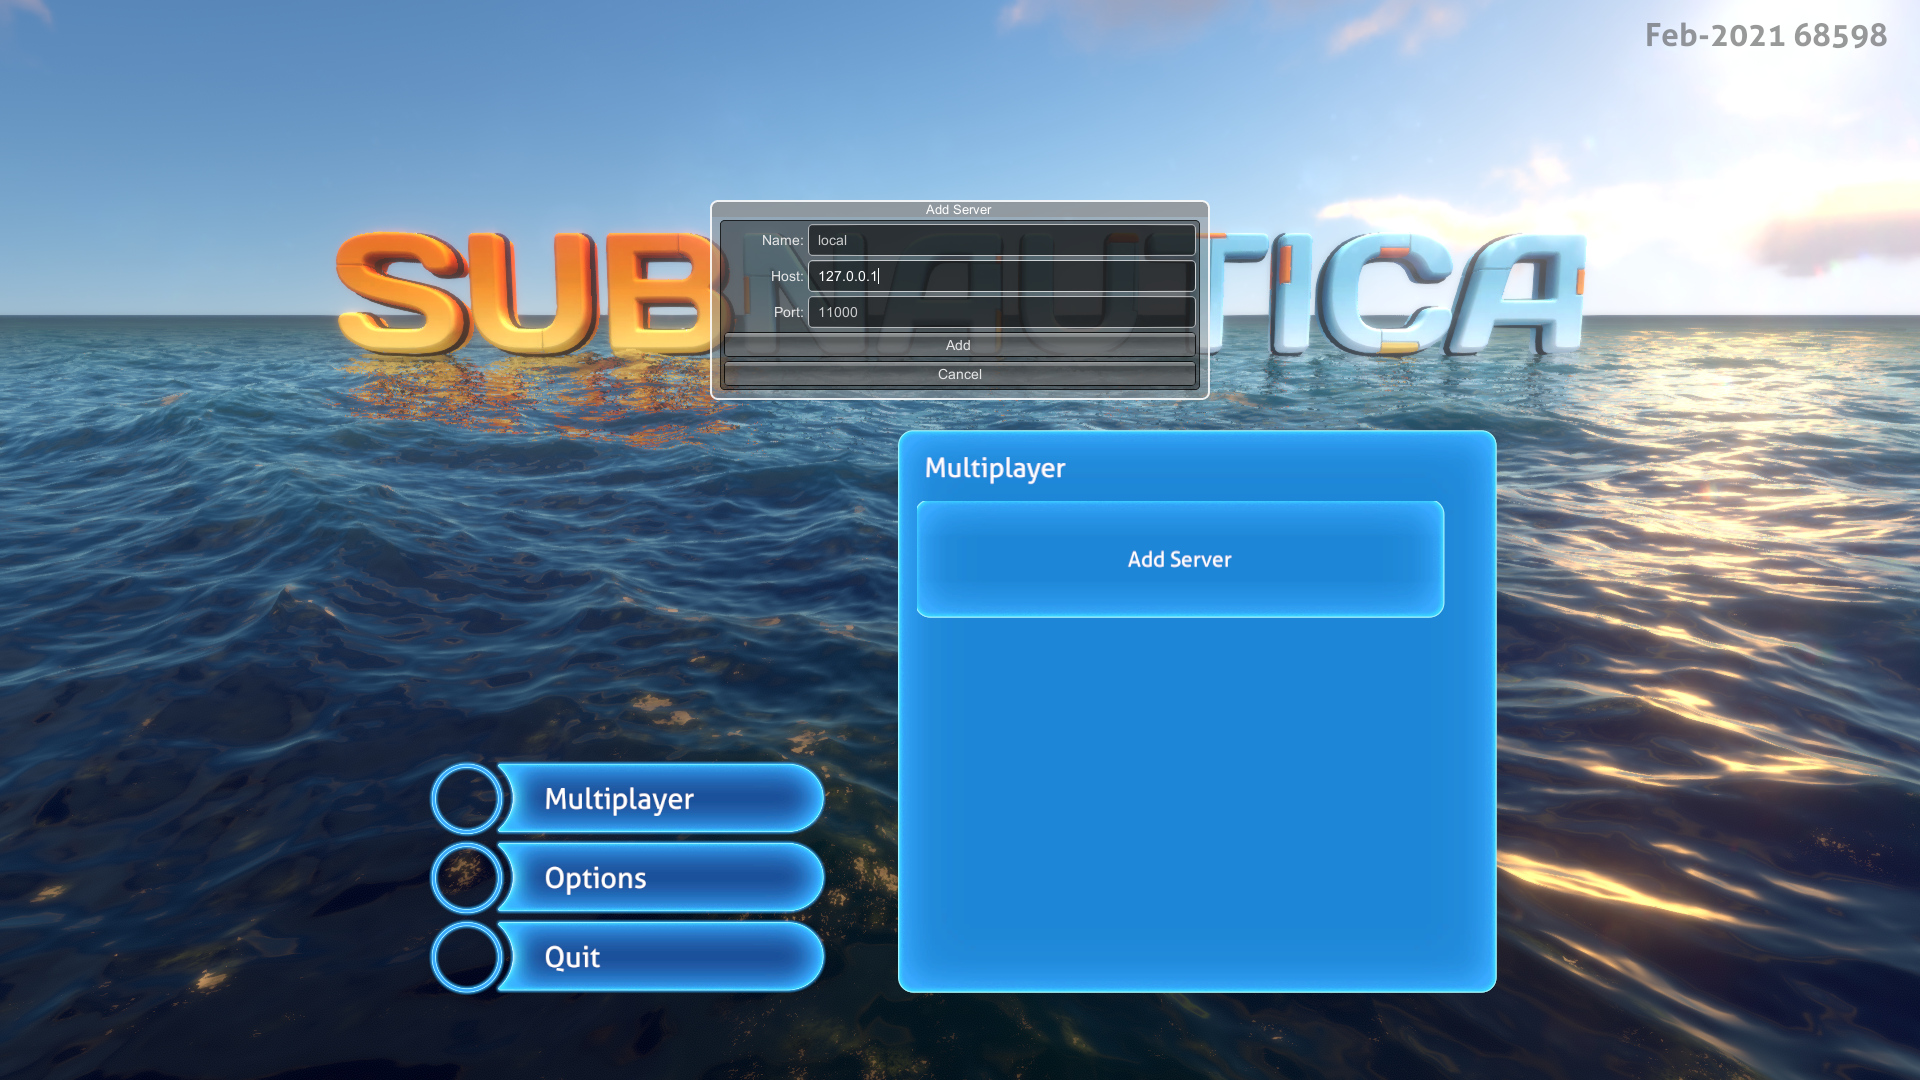
6. Join the server using the IP address from inside the game.
Did the above information not work for you?
Please click here to contact our support via a ticket.
