

This guide will help you How to Install and Manage Mods in Sons of the Forest
Get Your Sons of the Forest Server Online in Minutes with AA Game Hosting
Modding Sons of the Forest opens the door to an entirely new level of customization, creativity, and replayability. With the right tools and setup, you can enhance gameplay, add quality‑of‑life improvements, introduce new mechanics, or completely transform how the world behaves. Whether you’re looking to install simple tweaks or build a fully modded experience, managing your mods properly ensures everything runs smoothly and stays compatible with your server or single‑player game. This guide walks you through the essentials of how to install mods safely, organize them effectively, and keep them updated so you can enjoy a stable, customized version of Sons of the Forest tailored exactly to your playstyle.
Installing Mods on your Sons of the Forest Server
1. Log in to your Game Control Panel and navigate to your service.
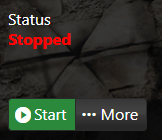
2. Before making any modifications, stop the server from running by clicking the Stop button.
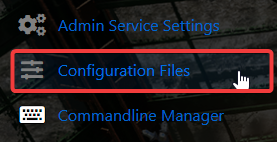
3. Navigate to the Configuration Files Tab to continue.
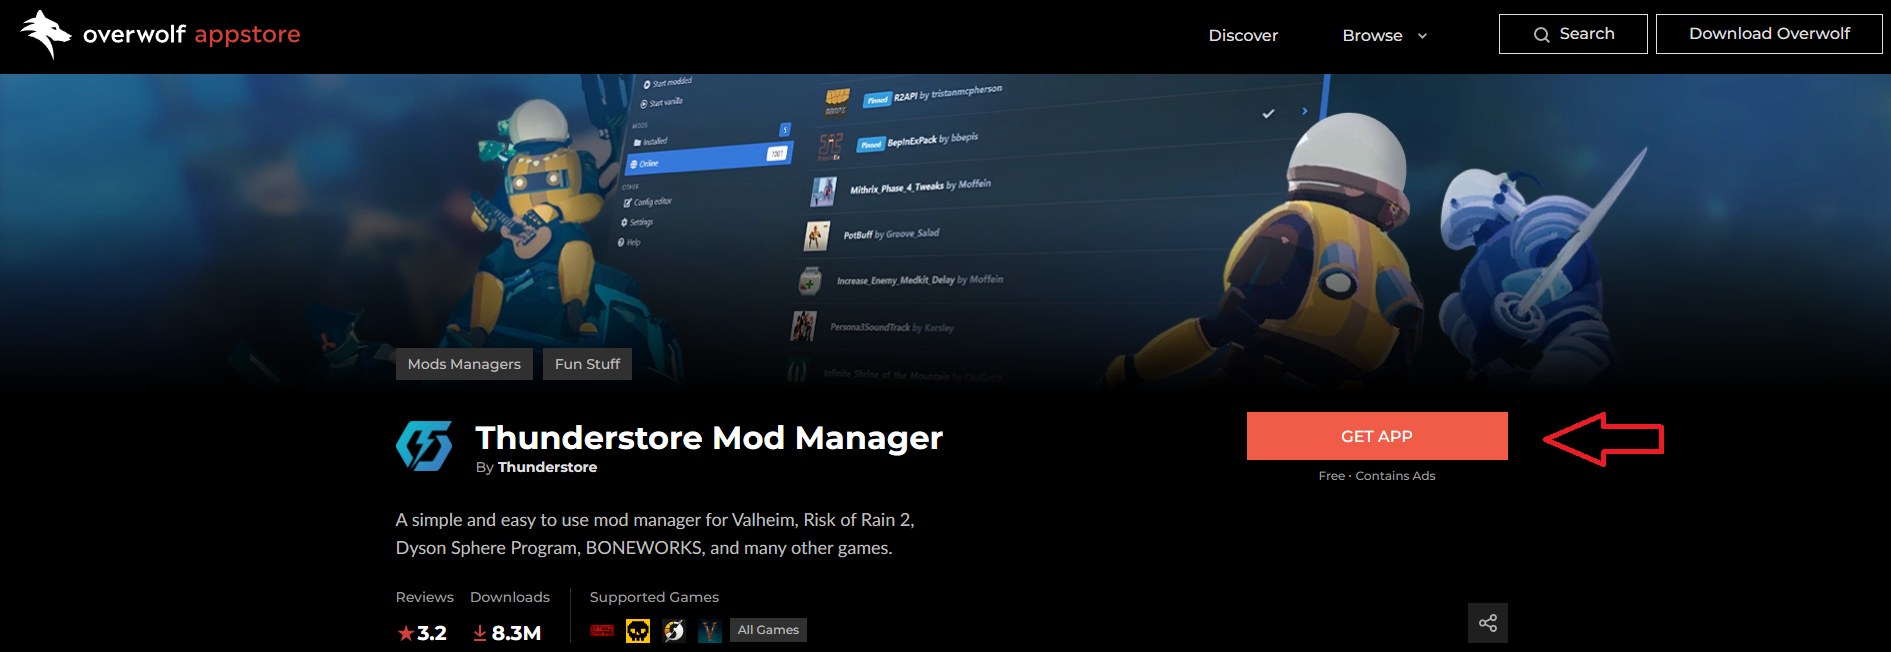
4. Start by downloading and installing the Thunderstore Mod Manager, which serves as the primary tool for managing SOTF mods. Because most mods for Sons of the Forest are client‑side, you can access, install, and update them easily through the mod launcher.
5. If you prefer not to use the launcher, client‑side mods can be installed manually. Most mods listed on the site provide clear manual installation steps. Since the majority of Sons of the Forest mods rely on BepInEx, make sure the plugin is installed first to ensure compatibility.
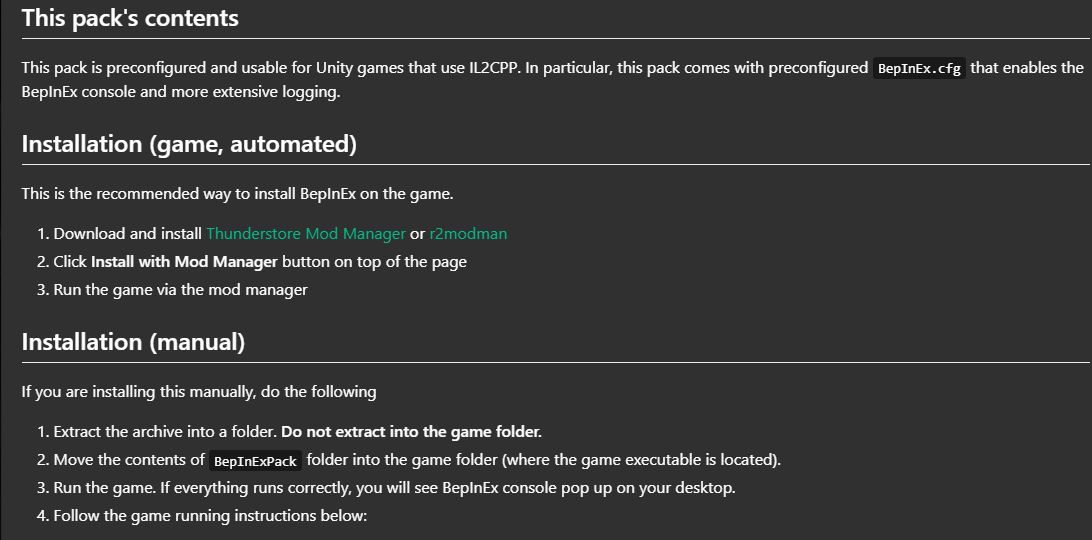
All server‑side mods need to be installed manually to ensure proper functionality. To streamline this process, our Game Panel offers an integrated BepInEx installation through the Mod Manager, giving you the required framework before adding additional mods.
6. After BepInEx is installed, you’ll see a new BepInEx folder in your File Manager. The plugins folder inside is where you’ll place most mod .dll files. Some mods also include configuration files, which belong in the config folder. While each mod page provides its own installation steps, the process typically follows this same structure.
Once all mods have been uploaded, you can customize their settings by editing the configuration files located in the config folder. Be aware that some mods only create their .cfg files after the server has been launched at least once, so you may need to start the server before all configuration options become available.
7. When all mods have been uploaded and their configurations adjusted, you can proceed to start the server.
Be aware that Sons of the Forest does not automatically sync mods. Every player must manually install the same mods on their client or have them installed through the Thunderstore Mod Manager in order to connect successfully.
If you are using the Thunderstore Mod Manager, you can share your mod profile with your friends.
Did the above information not work for you?
Please click here to contact our support via a ticket.