
This guide will show you how to Upgrade Your Project Zomboid Server to the IWBUMS Build
Click here to order your Project Zomboid server with AA Game Hosting.
Switching your Project Zomboid server to the IWBUMS (I Will Back Up My Save) branch is the key to accessing the newest experimental features, balance changes, and performance improvements long before they reach the stable build. This branch is where The Indie Stone rolls out cutting‑edge updates for players and server hosts who want to stay on the frontier of development and don’t mind a few rough edges along the way. Upgrading your server to IWBUMS ensures compatibility with the latest client builds, keeps your community in sync with ongoing development, and gives you early access to mechanics that shape the future of Project Zomboid. In this guide, you’ll learn exactly how to make the switch safely, from preparing backups to selecting the correct Steam branch and avoiding common pitfalls. Let’s get your server ready for the experimental ride ahead.
Note: It is highly recommended to stop the server before making the changes shown in this guide.
In this article, we will show you how to update your Project Zomboid server installation to the IWBUMS beta build.
This beta build does add in features not released yet, but as with any beta build, expect things to be broken or buggy.
To begin, you must be logged into the Game Panel for your server.
Then we need to go into the File Manager tool and delete all of the files on the installation.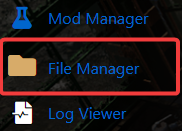

Once that is done, hop back to the main page of the panel, and click the Server Updater Tool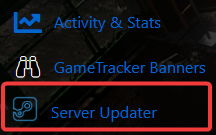
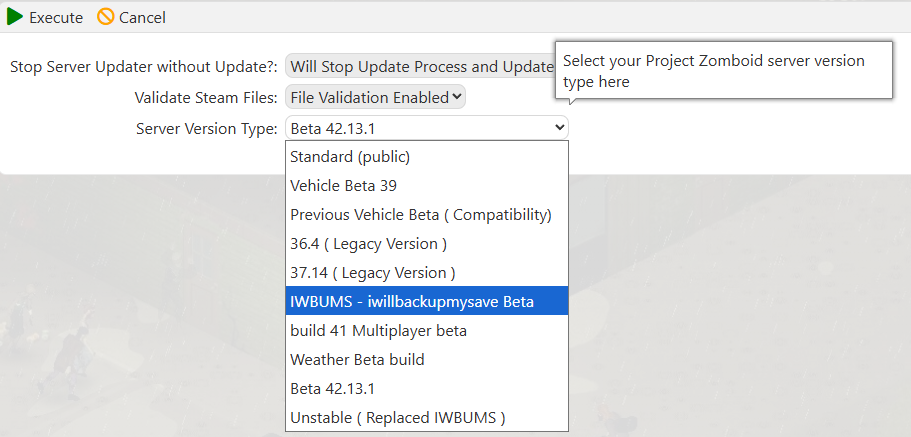
Choose the IWBUMS version
Once you have begun the update, a command console should pop up and run the update.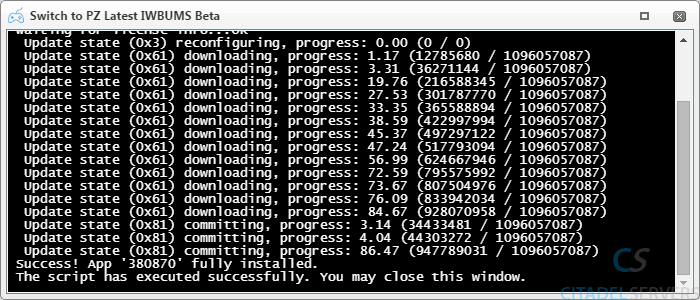
After that, go to the Commandline Manager to select the IWBUMS command line.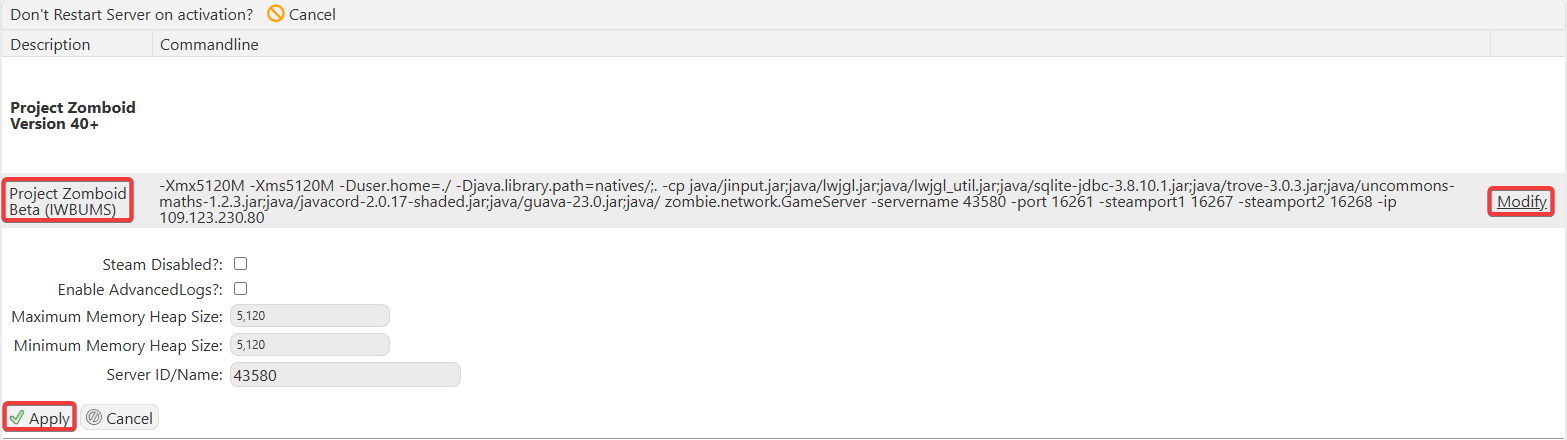
Your server is now running the latest Project Zomboid IWBUMS Beta build.
If you encountered issues during the process,
Please click here to send a ticket to our team.
