![]()
This guide will help you configure permissions on your Hytale Server.
Click here to order your Hytale server with AA Game Hosting today!
Configuring permissions on your Hytale server is one of the most important steps in creating a safe, organized, and enjoyable experience for your players. Whether you’re running a small private world for friends or building a large public community, proper permission management ensures that everyone has the right level of access, from basic players to trusted moderators and full administrators. Without a solid permissions setup, you risk griefing, accidental damage, or confusion about who can do what on your server. In this guide, you’ll learn exactly how to set up and customize permissions step by step. We’ll walk through the essential concepts, the tools you’ll use, and the best practices that help keep your server running smoothly. By the end, you’ll have a clear, reliable permission structure that gives you full control and keeps your community thriving.
Step‑by‑Step Permission Configuration
1. Log in to your Game Control Panel and navigate to your service.
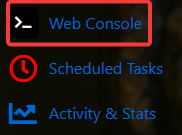
2. Navigate to the Web-Console Tab.
3. In the Web‑Console tab, enter the command you want to run. If you need to assign more than one permission at a time, separate each permission with a comma.
| Command | Description |
/perm user list <uuid> |
Displays all permissions of the user. |
/perm user add <uuid> <permissions> |
Adds permissions to a user. |
/perm user remove <uuid> <permissions> |
Removes permissions from a user. |
/perm user group list <uuid> |
Displays the group permissions of a user. |
/perm user group add <uuid> <group> |
Adds the user to a group permission. |
/perm user group remove <uuid> <group> |
Removes the user from the group permission. |
/perm group list <group> |
Displays all permissions from a group. |
/perm group add <group> <permissions> |
Adds permissions to a group. |
/perm group remove <group> <permissions> |
Removes permissions from a group. |
1. Log in to your Game Control Panel and navigate to your service.
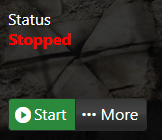
2. Before making any modifications, stop the server from running by clicking the Stop button.
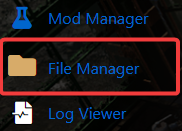
3. Navigate to the File Manager Tab.
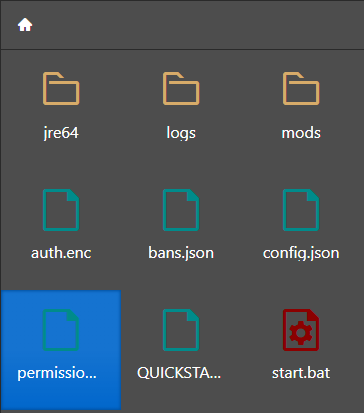
4. In the File Manager, locate and open the permissions.json file to begin editing your server’s permission settings.
5. Inside the "users" section, add the permissions you want to assign to that user. Use the format shown below, and separate each permission with a comma.
"PlayerUUID": {
"permissions": [
"perm1",
"perm2"
],
"groups": [
"group1",
"group2"
]
}
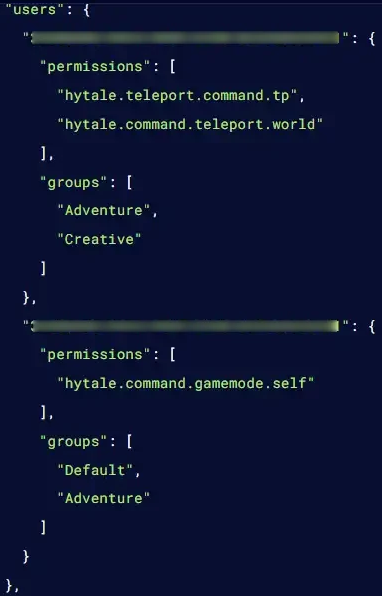
6. Inside the "groups" section, define the permissions you want to assign to that group. Make sure to use the correct format and separate each permission with a comma.
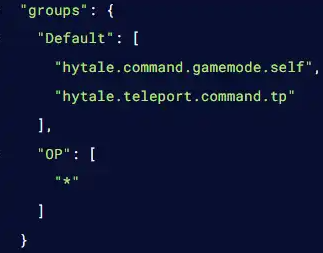
NOTE: Group names are case‑sensitive and cannot contain spaces.
7. After making your changes, click the Save button to apply the updated permissions to your server.
![]()
How to Access Hytale’s Permission Files
1. Start your server, then join it to confirm that your permission changes are working as expected.
2. Enter the following command:
/help
3. Select the command you want to run from the list.

4. Take note of the permission value shown, as this indicates the exact permission required for that command.
![]()
Did the above information not work for you?
Please click here to contact our support via a ticket.
