![]()
This guide will help you how to configure your server settings on your Hytale Server.
Click here to order your Hytale server with AA Game Hosting today!
One of the most exciting aspects of Hytale is its strong focus on customization and community-driven content. Mods allow players and server administrators to expand the game far beyond its default features introducing new blocks, creatures, mechanics, and even entire gameplay systems. By adding mods to your server, you can create a unique experience tailored to your community’s style, whether that’s building immersive roleplay worlds, designing competitive arenas, or experimenting with wild new adventures. Setting up mods on your Hytale server is more than just dropping files into a folder it’s about understanding how the server handles custom content, ensuring compatibility, and maintaining stability for everyone who connects. Done correctly, mods can transform your server into a one-of-a-kind playground that keeps players engaged and coming back for more. In this guide, we’ll cover the essentials of adding mods to your Hytale server, from locating and installing mods to configuring them for smooth performance. By the end, you’ll be ready to unlock the full creative potential of Hytale and share your vision with your community.
Installing Mods on your Hytale Server
1. Log in to your Game Control Panel and navigate to your service.
2. Before making any modifications, stop the server from running by clicking the Stop button.

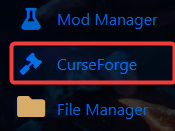
3. Navigate to CurseForge Tab.
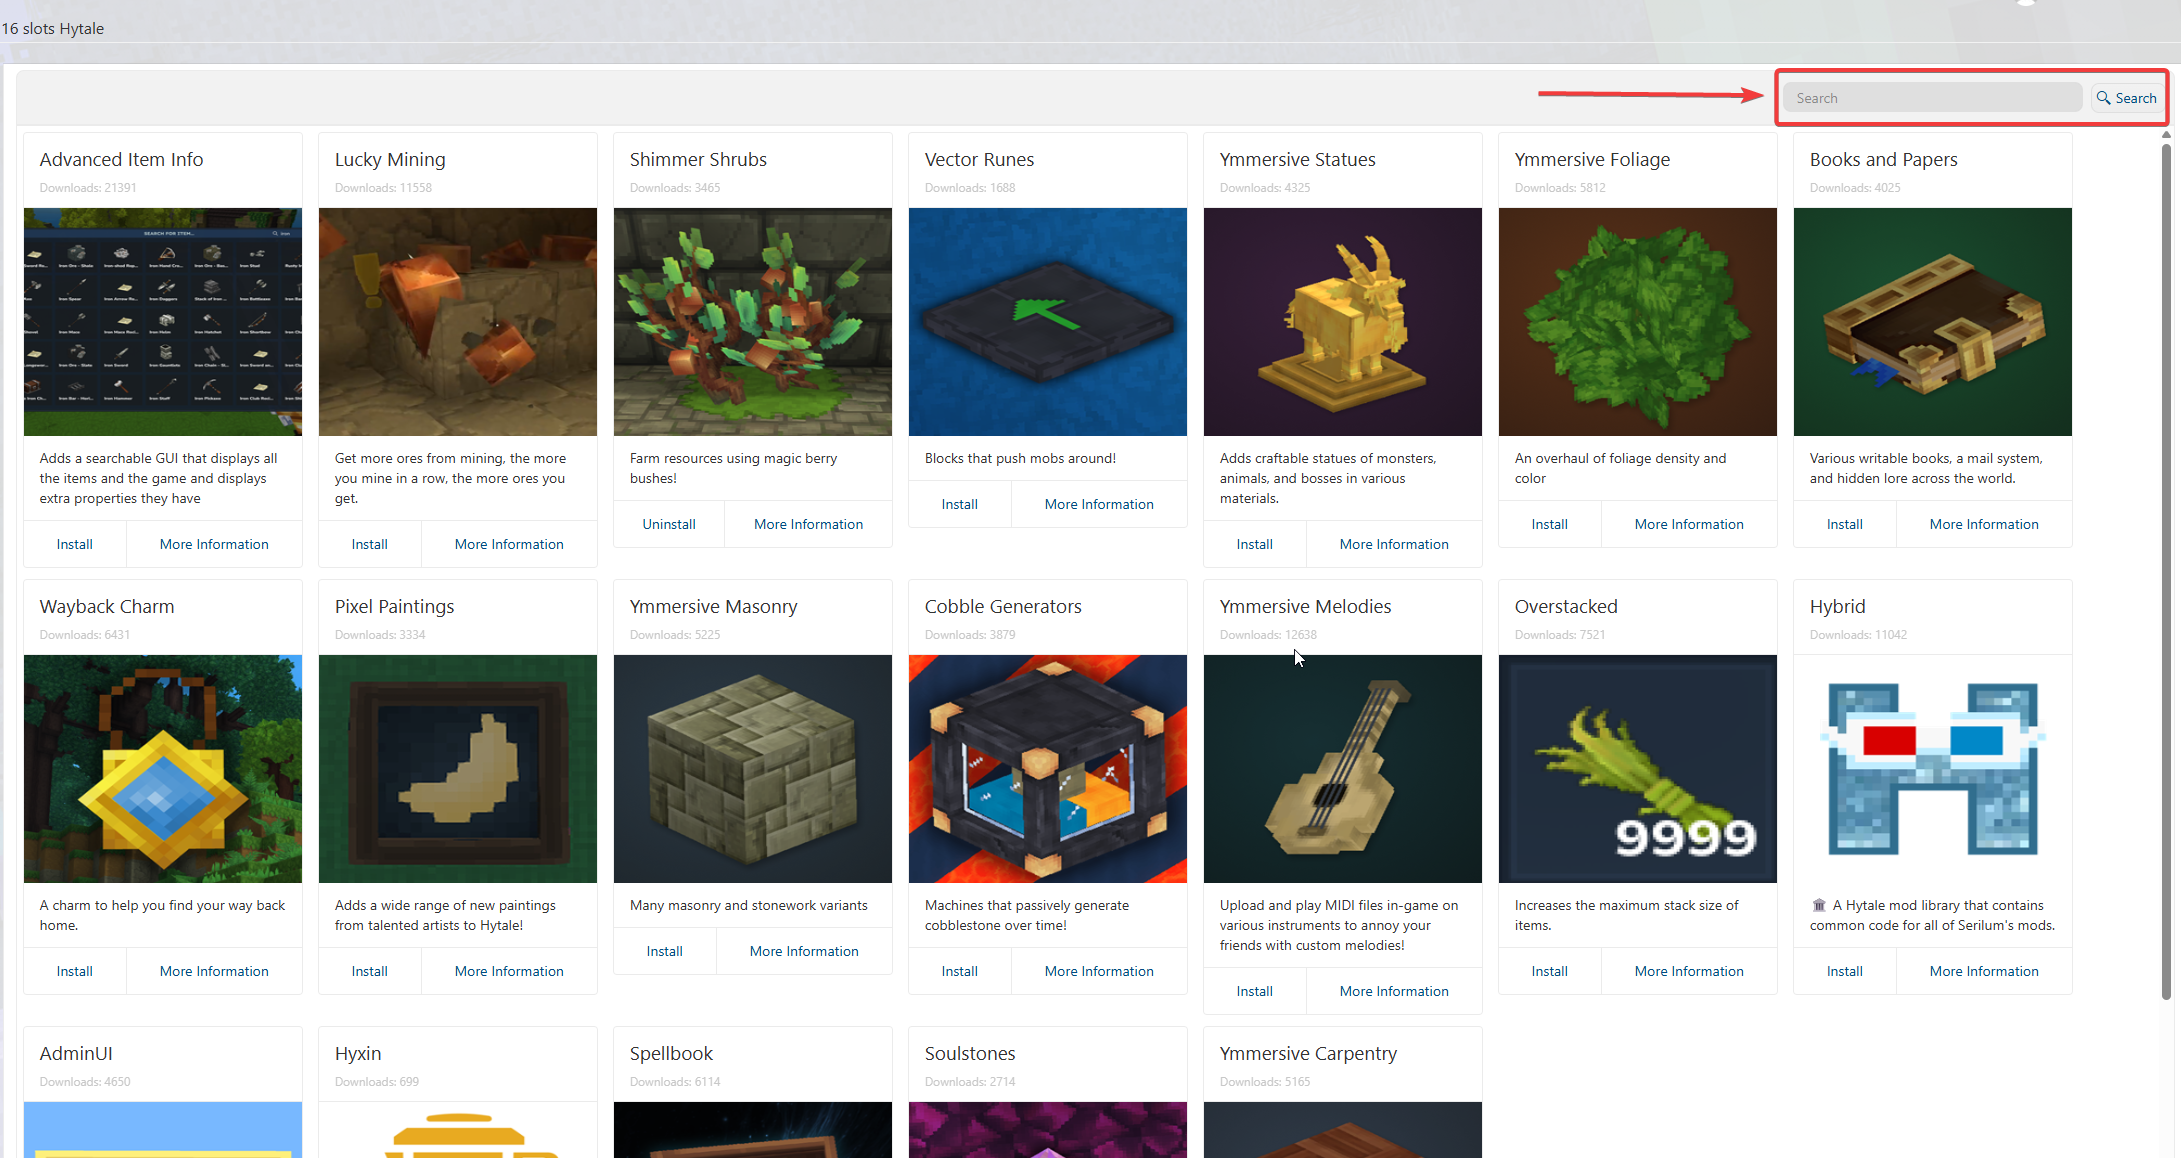
4. On the CurseForge tab, search and install the mods that you preferred.
5. Once the mods are installed, start and join your server to confirm if the mods are loaded correctly.
Did the above information not work for you?
Please click here to contact our support via a ticket.
