![]()
This guide will help you on how to Add a custom admin permissions on your Empyrion Galactic Survival Server.
Click here to order your Empyrion Galactic Survival with AA Game Hosting today!
Running a dedicated Empyrion Galactic Survival server means you’re not just hosting a game you’re managing a community. One of the most important aspects of server management is controlling who has access to administrative commands. By default, Empyrion provides a basic admin system, but customizing permissions through an AdminConfig.yaml file allows you to fine‑tune control, ensuring that trusted players have the right tools while preventing misuse. This guide will walk you through the essentials of setting up a custom admin permission file, explaining why it’s important, what the file does, and how to configure it for your server.
Adding a Custom Admin Permissions on your Empyrion Galactic Survival Server
1. Log in to your Game Control Panel and navigate to your service.
2. Before making any modifications, stop the server from running by clicking the Stop button.

3. Go to the Configuration Files Tab.
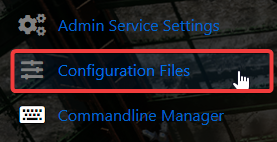
4. For the Configuration Files, look for AdminConfig.yaml file and click the Text Editor.

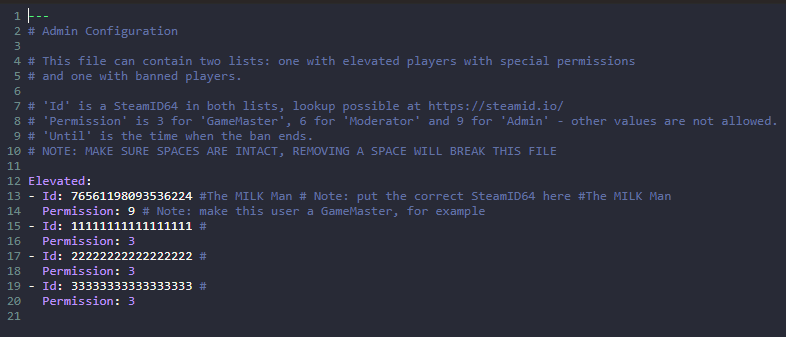
5. On the Text Editor, add the SteamID of the players you wanted to be an Admin on your server. You can access your SteamID by checking this link: https://steamid.io/
To add permissions, you can choose from values: 3 (GameMaster), 6 (Moderator) & 9 (Admin)
6. After editing, click the Save button to apply the changes on your server.

Did the above information not work for you?
Please click here to contact our support via a ticket.
