

This quickstart guide will help you jumpstart your adventure on your Killing Floor 2 Server
Host Killing Floor 2 with AA Game Hosting
Killing Floor 2 delivers fast‑paced, cooperative survival gameplay where players battle waves of Zeds across a variety of maps and difficulty levels. To help you get your server up and running quickly, this Quickstart Guide provides a streamlined overview of the essential steps needed to deploy, configure, and launch a fully functional Killing Floor 2 server on AA Game Hosting. Whether you're hosting a private match for friends or building a public server for the community, this guide walks you through the core setup process from initial installation to basic configuration and startup. By following these steps, you’ll have a stable, ready‑to‑play server in minutes, with clear direction on where to customize settings as you grow more familiar with the platform.
How to Connect to your Chivalry Medieval Server
1. Log in to your Game Control Panel and navigate to your service.
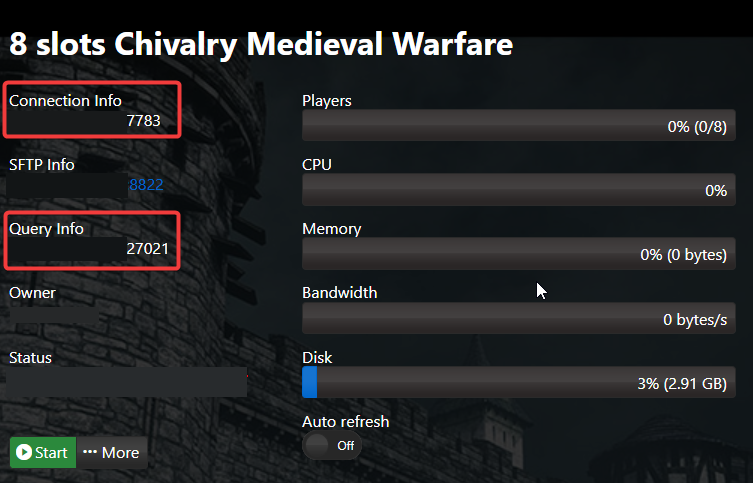
2. Copy the Connection Info/Query Port listed.
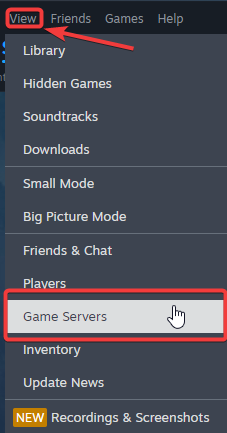
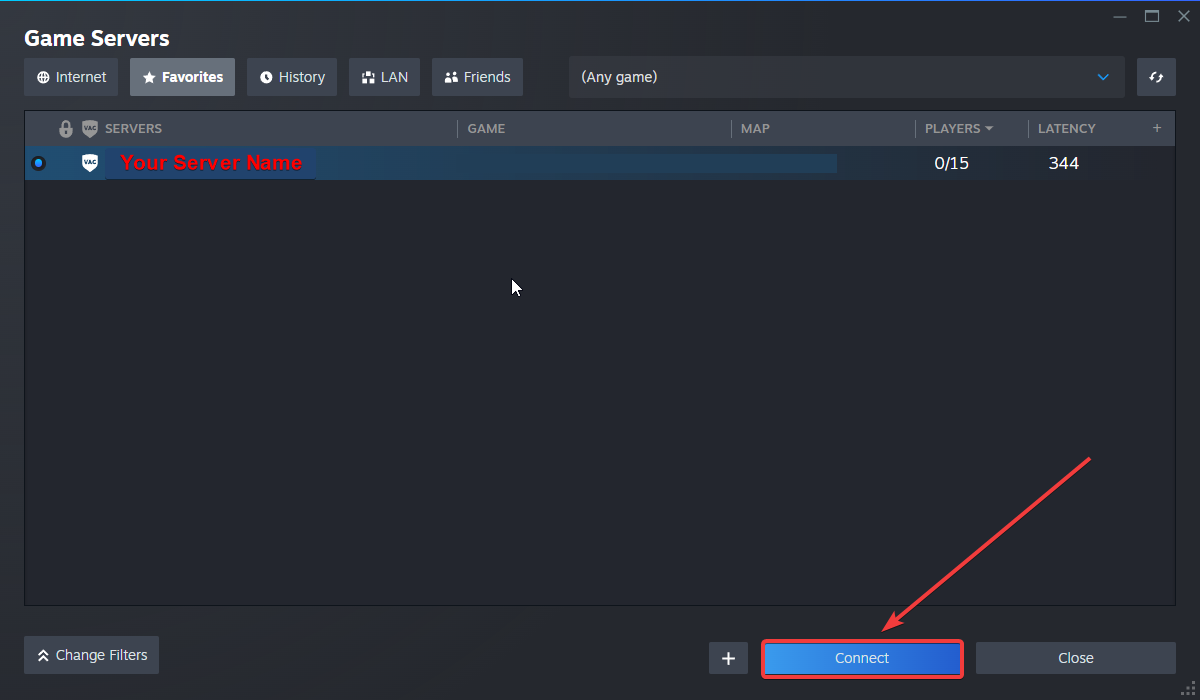
3. Open Steam. Click the View tab, then click Game Servers.
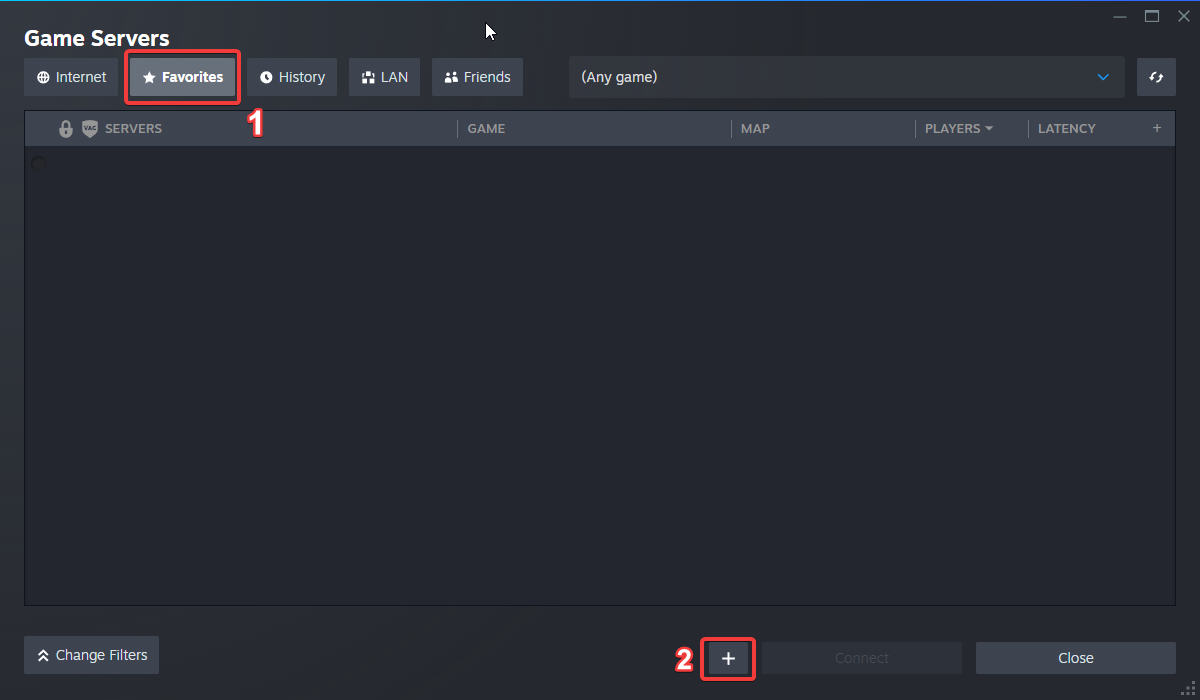
4. Click on the Favourites tab, then click the "+" sign and Add Server.
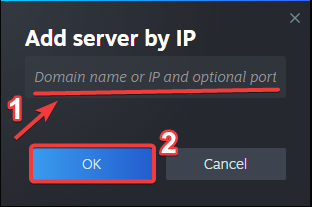
5. Paste in your server's Connection Info or Query Info IP/Port.
6. Click Connect.
Configuring your Server Name and Password
To edit these basic settings, follow these steps:
1. Log in to your Game Control Panel and navigate to your service.
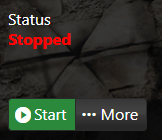
2. Before making any modifications, stop the server from running by clicking the Stop button.
3. Go to the Configuration Files Tab.
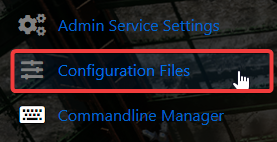
4. For the Configuration Files, select the Config Editor Button.
A pop-up will appear, and you can change the Server Name and Password.
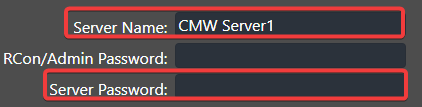
5. After editing, click Save to apply the changes.

Did the above information not work for you?
Please click here to contact our support via a ticket.