![]()
This guide will help you on how to add mods using CurseForge on your ARK Survival Ascended Server.
Modding has always been at the heart of the ARK community, allowing players to customize their survival experience with new creatures, structures, quality-of-life improvements, and entire gameplay overhauls. With the release of ARK: Survival Ascended, mod support has been streamlined through CurseForge, making it easier than ever to discover, install, and manage mods for your server. Whether you’re running a private server for friends or hosting a large community, adding mods can transform your world into something truly unique. CurseForge provides a centralized platform where you can browse thousands of mods, check compatibility, and install them directly without the hassle of manual file management. By integrating with ARK’s new modding system, it ensures smoother updates and better stability compared to older methods. By the end, you’ll be ready to enhance your ARK server with creative and powerful mods, giving your tribe a fresh adventure every time you log in.
Adding Mods using Curseforge on your ARK Survival Ascended
1. Log in to your Game Control Panel and navigate to your service.
2. Before making any modifications, stop the server from running by clicking the Stop button.

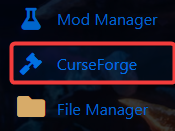
3. Navigate to Curseforge Tab.
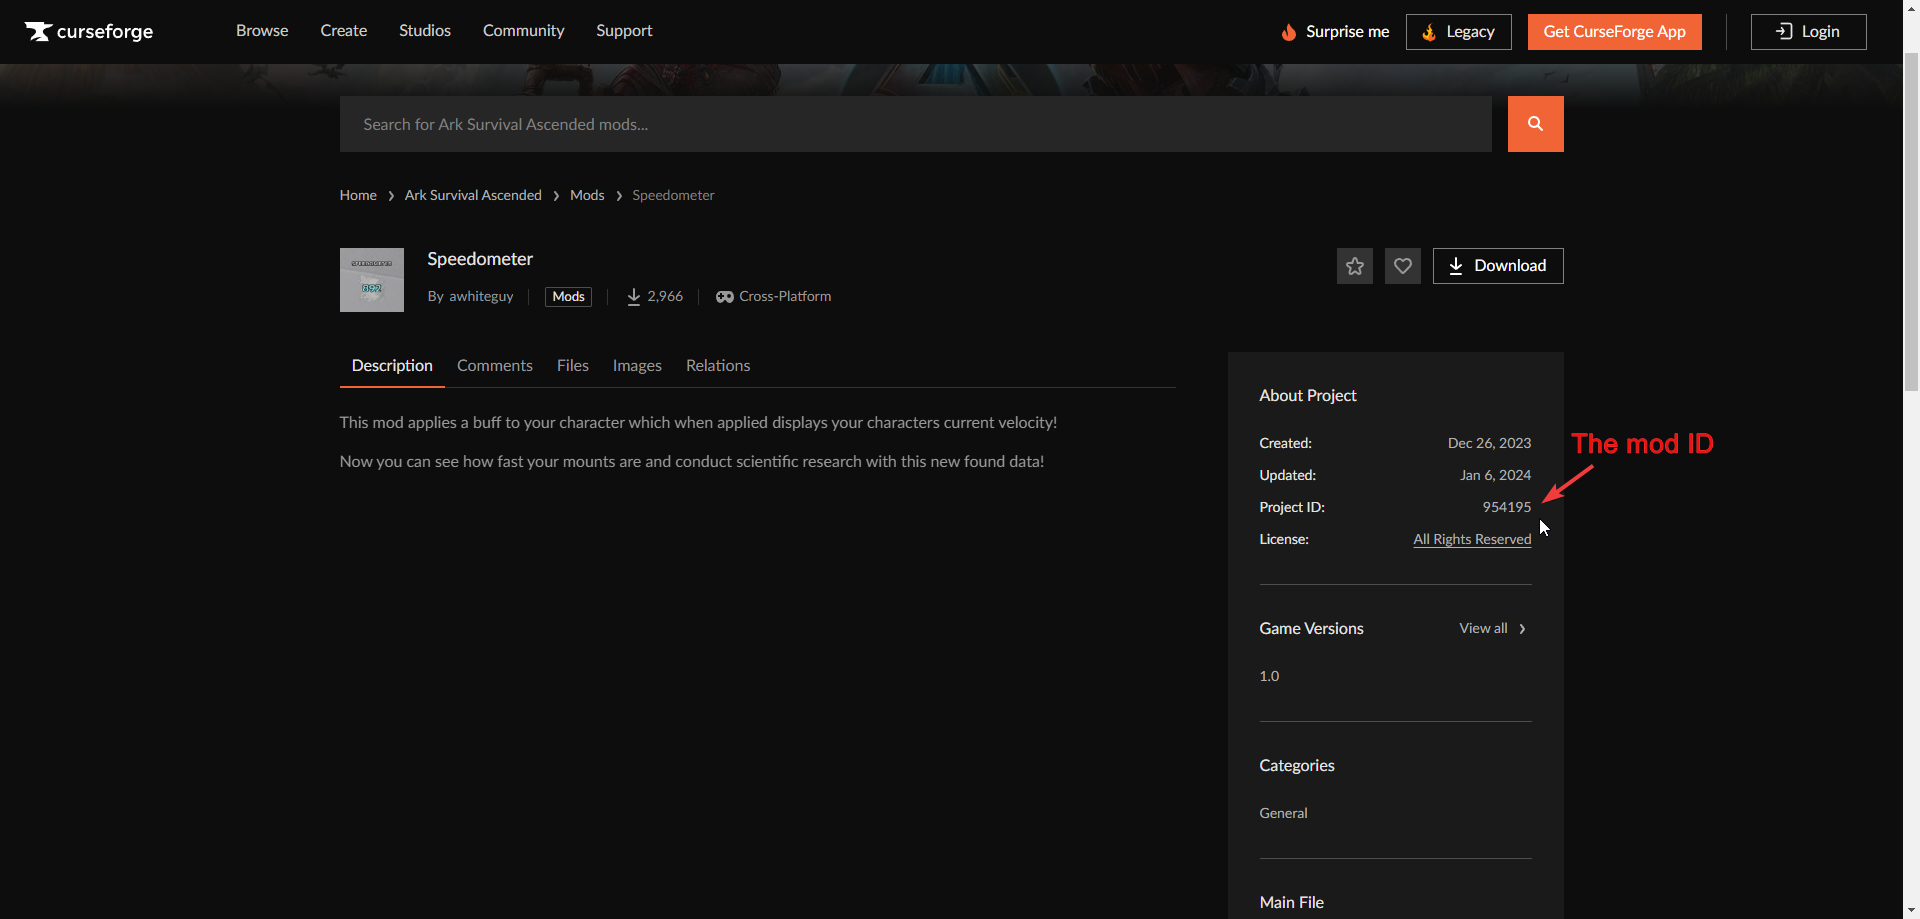
4. You can search for the mod you want in the search bar. Our mod selection is linked to CurseForge. Once you find the desired mod, click Install.

Note: Before downloading, please ensure that it is compatible with the current game version

6. Once the process has finished. The downloaded mod should be added and enabled by default.
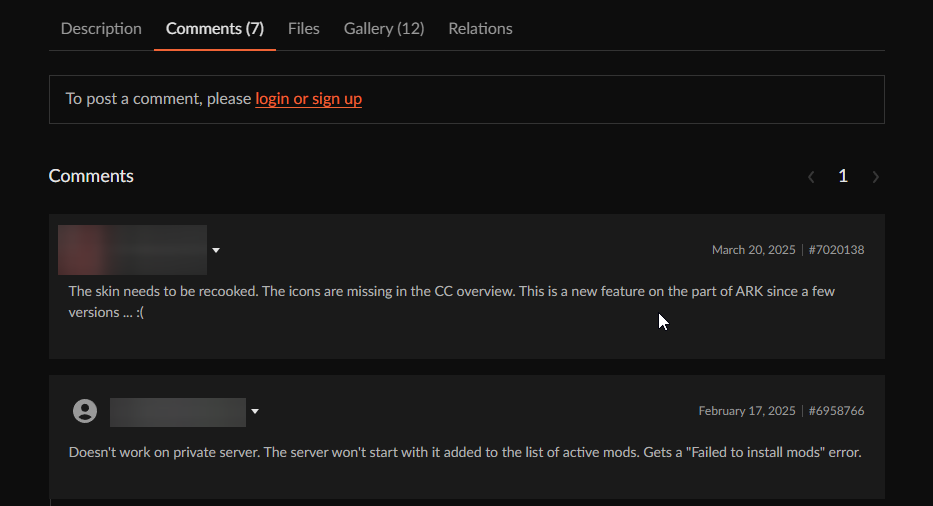
If you are using a Cosmetic/Skin mod, check the comments and description to see if it works with Dedicated/Player servers. Some might have an overwrite command to post in the configs to force load the mod.
Did the above information not work for you?
Please click here to contact our support via a ticket.
