![]()
This guide will help you on how to add a custom roles on your Enshrouded Server.
Click here to order your Enshrouded server with AA Game Hosting today!
Running an Enshrouded server isn’t just about keeping the world alive it’s about shaping the community that plays within it. One of the best ways to do that is by creating custom roles. Roles let you define permissions, responsibilities, and even unique identities for your players, whether you’re organizing admins, moderators, or special groups with tailored access. By setting up custom roles, you can keep your server secure, streamline management, and give your community a more personalized experience. In this guide, we’ll walk through the steps to add custom roles, explain why they matter, and share tips to make role management smooth and effective.
Adding Custom Roles on your Enshrouded Server
1. Log in to your Game Control Panel and navigate to your service.
2. Before making any modifications, stop the server from running by clicking the Stop button.

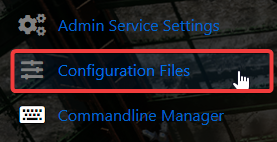
3. Go to the Configuration Files Tab.
4. On the Configuration Files, look for enshrouded_server.json file and click the Text Editor beside the Config Editor.

5. On the Config Editor, Look for userGroups Line and Set up custom roles for your trusted crew, give them the access they need and the perks they deserve.
Use this sample template to add custom roles on your server:
{"canAccessInventories": false,"canEditBase": false,"canExtendBase": false,"canKickBan": false,"name": "RoleName","password": "RolePassword","reservedSlots": 0},

6. After editing, click Save to apply the changes.
Please click here to contact our support via a ticket.
