![]()
This quickstart guide will help you jumpstart your adventure on your Enshrouded Server.
Click here to order your Enshrouded server with AA Game Hosting today!
Setting up an Enshrouded server is the first step toward building a thriving multiplayer world where you and your friends can explore, craft, and survive together. Whether you’re hosting a small private group or managing a larger community, having a clear quickstart guide ensures you can get your server online quickly and with minimal hassle. By the end of this quickstart guide, you’ll have a fully functioning Enshrouded server ready for adventure, giving you the foundation to expand into advanced customization and community management.
How to Connect to your Enshrouded Server
1. Log in to your Game Control Panel and navigate to your service.
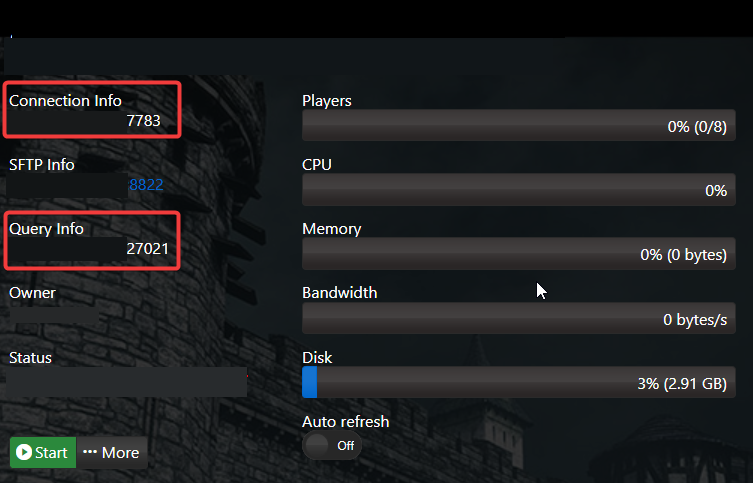
2. Copy the Connection Info/Query Port listed.
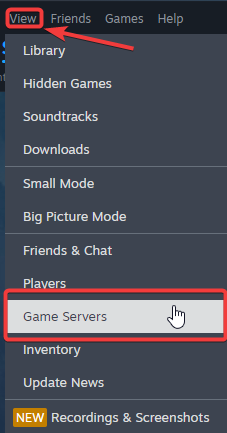
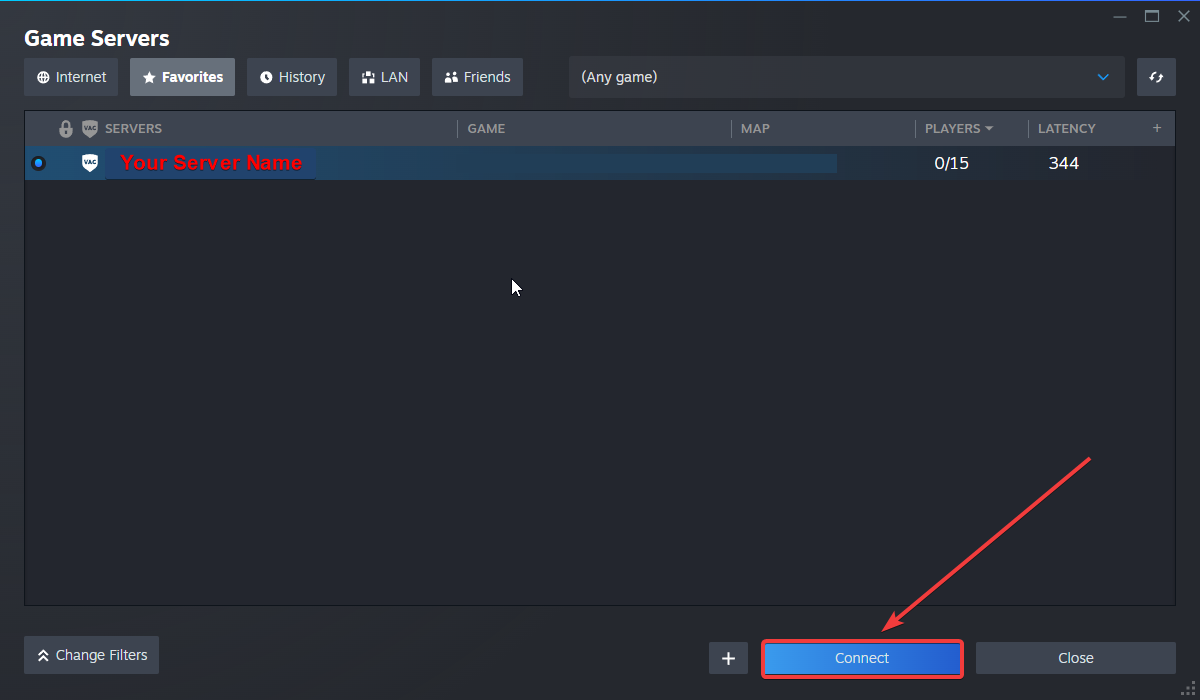
3. Open Steam. Click the View tab, then click Game Servers.
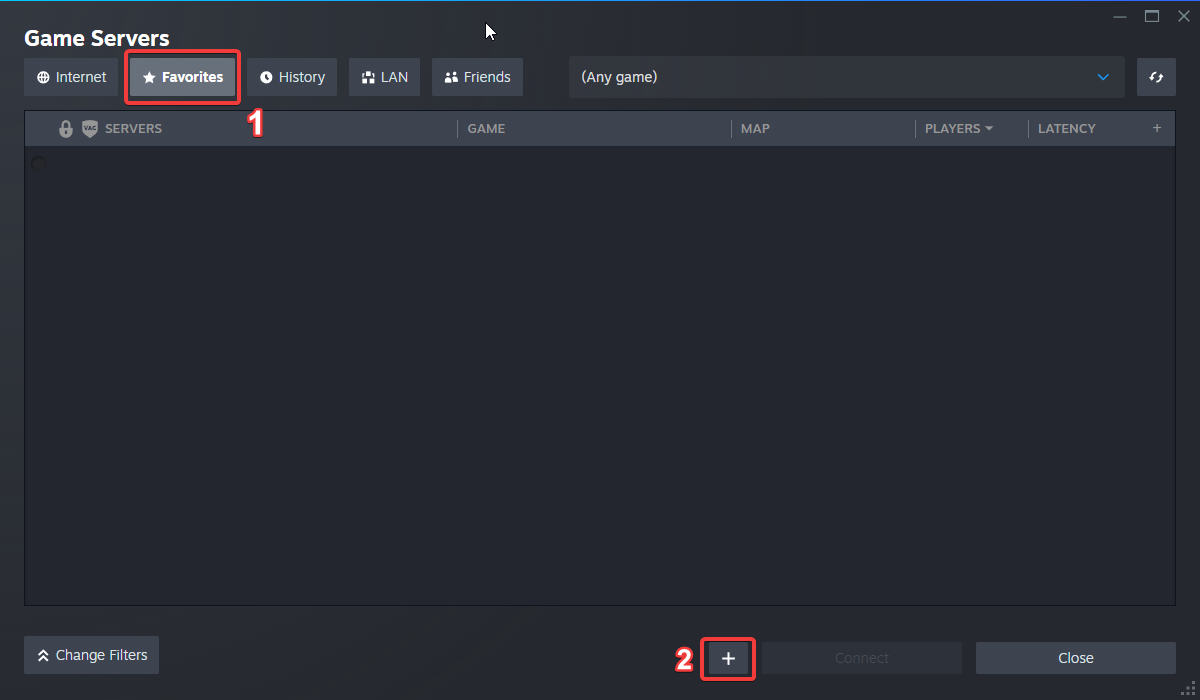
4. Click on the Favourites tab, then click "+" sign and Add Server.
5. Paste in your server's Connection Info or Query Info IP/Port.
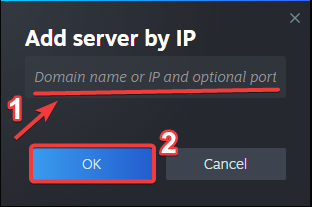
6. Click Connect.
Configuring your Server Name and Password
To edit this basic settings, follow these steps:
1. Log in to your Game Control Panel and navigate to your service.
2. Before making any modifications, stop the server from running by clicking the Stop button.

3. Go to the Configuration Files Tab.
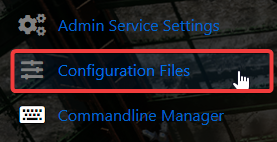
4. For the Configuration Files, select the Config Editor Button.
A pop-up will appear, you can change the Server Name and Password.
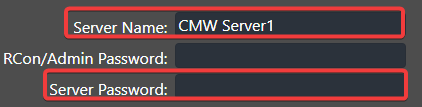
5. After editing, click Save to apply the changes.
![]()
Did the above information not work for you?
Please click here to contact our support via a ticket.
