This guide walks you through installing and enabling mods on your server using the built-in Steam Workshop integration.
In just a few steps, you can search, install, and activate mods directly from your game panel.
How to Install Mods on Your Server
Step 1: Install Mods from the Steam Workshop
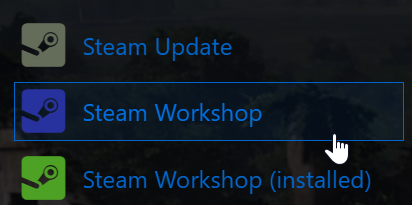
Open your Game Panel and click the Steam Workshop button.

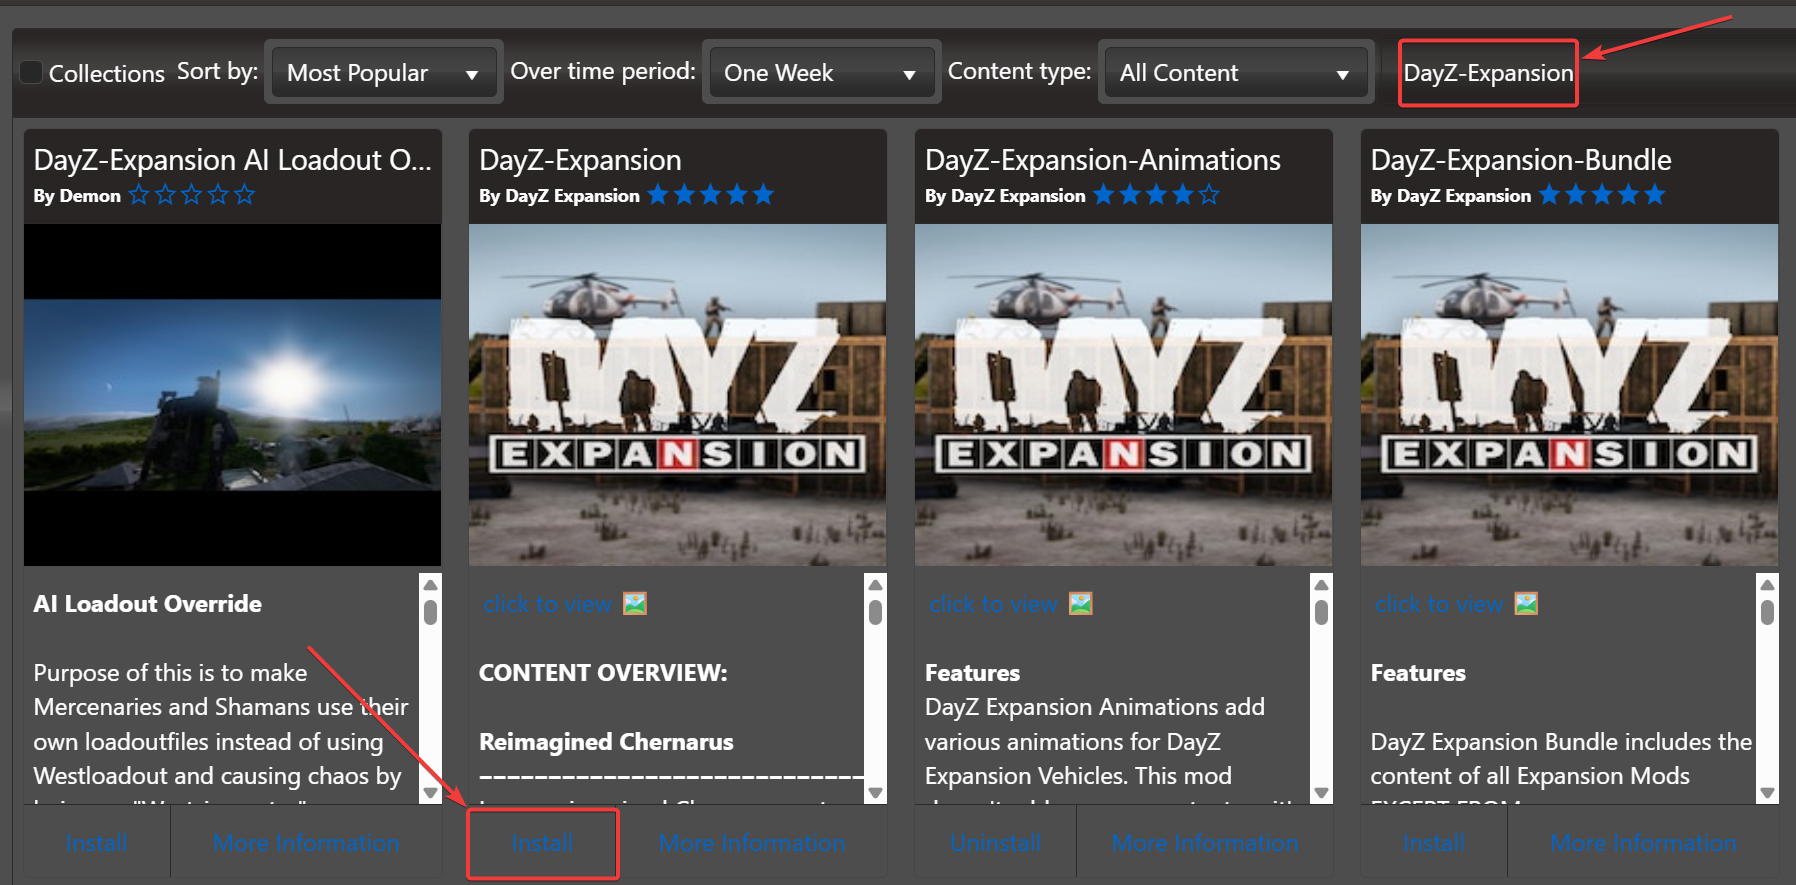
A new window will appear where you can search for the mod you want.
To install a mod like DayZ Expansion mods, you can search for he name of the mod in the search box.
A status window will show the installation progress. Once it’s done, it will close automatically.

Step 2: Enable Mods in the Command Line
Go to the CommandLine Manager in your game panel.
Select a commandline setup. For modded servers (not using DZSA Launcher), choose Modded Server.
In the Mods field, enter the mod folder names (usually starting with “@”), separated by semicolons.
Example: @CF;@Community-Online-Tools

Note: You can verify mod folder names in the File Manager.
they typically match the Steam Workshop mod ID and start with “@”.
Step 3: Save and Apply Settings
Click the blue Apply button to save your changes.
Mod keys are handled automatically. If a mod is removed, its key is removed too.
Start your server. Your selected mods should now be active.
Click here to order your DayZ server with AA Game Hosting today.
Did the above steps not work for you? Please contact our support and we'll help you out!

