
This guide explains how to download mods from the ArmA Reforger Workshop and add them to your server by updating the configuration files with the correct mod IDs, names, and versions.
Following these steps will ensure your server loads the desired mods properly and runs without issues.
This guide will walk you through the process of adding mods to your ArmA Reforger server.
Step 1: Launch the Game and Open "Workshop"
First, start the game and select "Workshop" from the main menu.
Step 2: Download the Mods
Next, download all the mods you want to use on your server. Wait for the downloads to complete.
Step 3: Locate the Game Files on Your PC
Once the downloads are finished, navigate to your game files on your PC. The default path for these files is:
Step 4: Open the ServerData.json File
Each mod folder is labeled with a mod ID. To identify each mod, open the ServerData.json file within the folder. The file content should look like this:
Note: Always double-check the Mod IDs, Names, and Versions to ensure they are entered correctly in the configuration.
Step 5: Copy the Mod ID, Name, and Version
Copy the Mod ID, Name, and Version from this file. You’ll need these details for your server’s configuration.
Adding Mods to Your Server
Now that you have the necessary details, you can add the mods to your server’s configuration.
Step 1: Log in to Your Game Panel
Log in to your AA Game Hosting Game panel and go to the "Configuration Files" section.

Step 2: Open the server_config.json File
In the Configuration Files, open the server_config.json file using a text editor.

Step 3: Locate the Mod Section
Inside the server_config.json file, find the section dedicated to mods. This is where you will add your mod details.
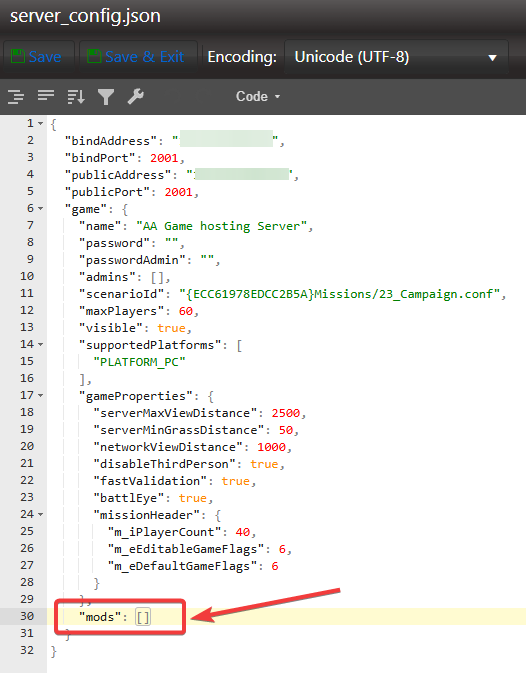
Step 4: Add the Mod Information to Your Server Configuration
Add the mods in the following format:
For a single mod:
For multiple mods:
Note: Be sure to replace the IDs, Names, and Versions with the correct details you copied earlier.
Step 5: Save and Restart the Server
Once you've added the mods to your server_config.json file, save the changes and restart your server to apply the updates.
Note: Always verify the latest version of your mods before adding them to your server to prevent conflicts and crashes.
