![]()
This guide will show you how to configure your Battalion 1944 server.
Setting up a Battalion 1944 server is your first step toward hosting intense, fast-paced World War II multiplayer battles. Whether you're creating a competitive arena for friends or launching a public server for the community, proper configuration ensures smooth gameplay, balanced matches, and a personalized experience.
Configuring your Battalion 1944 Server
1. Login to your Game Panel.
2. Before making changes, make sure the server is stopped.

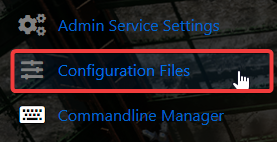
3. Navigate to Configuration Files.
4. On the Configuration Files, look for WindowsServer\server\DefaultGame.ini file and click the Text Editor.
5. On the Game.ini file, configure your server base on your preference.
| ServerName= | Change this to the name you want players to see your server as |
| Password= | Add a password here if you want |
| TeamNames="ALLIES" | Change the name of Team 1 |
| TeamNames="AXIS" | Change the name of Team 2 |
| PlayMode=Arcade | Set the play style of the server. Most admins will want "Arcade", however "Comp" and "Unranked" are also available. These configurations mirror the matchmaking options. |
| StartType=ReadyUp | Here you set how the server will start. You can choose between: "ReadyUp" requires all players to ready up before the game begins, "PlayerCount" waits until the number of players is bigger or equal to the "RequiredPlayers" config variable, and "Skip" which will start the server immediately. |
6. After editing, click the Save button to apply the changes.
