
This guide will show you how to restore backup files and restore specific timestamps on your ARK Survival Evolved Server
Whether your ARK server has been hit by a corrupted save, a mod conflict, or an unexpected dino rampage, restoring a backup can be your lifeline. ARK: Survival Evolved automatically generates timestamped .ark files—snapshots of your world at different moments in time. These backups allow you to roll back your server to a previous state with precision, preserving gameplay progress and avoiding data loss. This process is especially useful after major updates, accidental wipes, or when you simply want to undo a catastrophic event. Let’s walk through how to bring your prehistoric paradise back to life—exactly how it was.
Restoring Backup files on your ARK Survival Evolved Server
When you create a backup of your server's saved data by clicking the "Server Backup" button in your control panel, the system automatically stores the backup files in the "backups" folder within your File Manager.
1. Login to your Game Panel.
2. Before making changes, make sure the server is stopped.

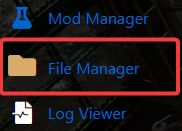
3. Navigate to File Manager.
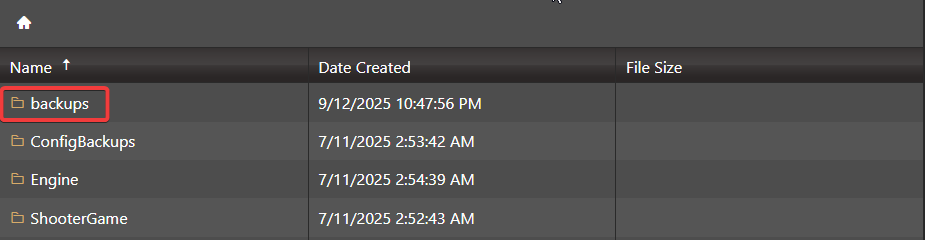
4. Once you're in the File Manager, navigate to the "backups" folder to access your saved server backups.
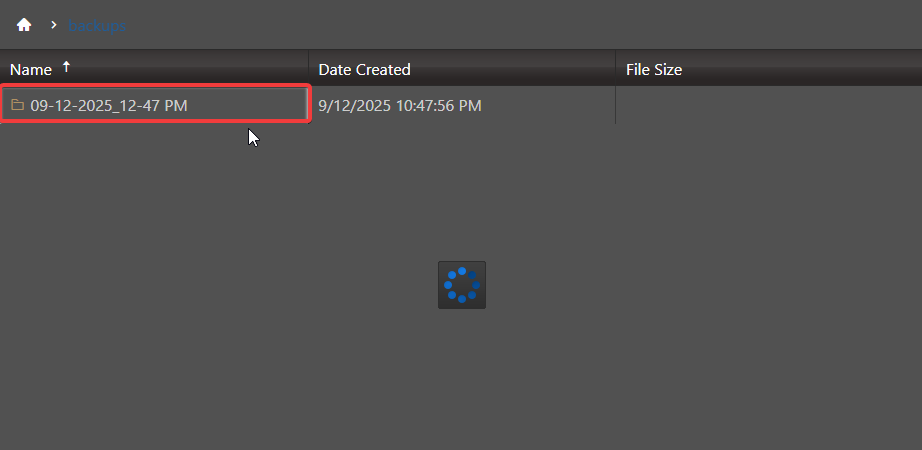
Inside the backups folder, you'll find all the server backups you've created. Each file is named using a timestamp format MM-DD-YYYY_HH_MM AM/PM) to help you easily identify when it was made.
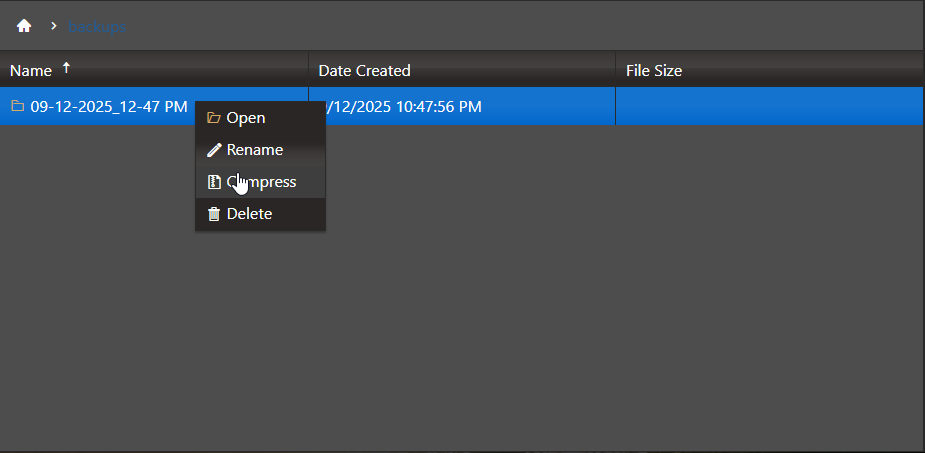
5. Once you've chosen the backup that you want to restore. Right click the folder and press the "Compress" button to add it to a zip archive.
6. Click the Download button to save the backup file to your computer.

7. Once you've accessed the File Manager, go to ShooterGame folder. This is where your server's core game files are stored, including saved data and configuration files. Right click the folder and choose Delete.
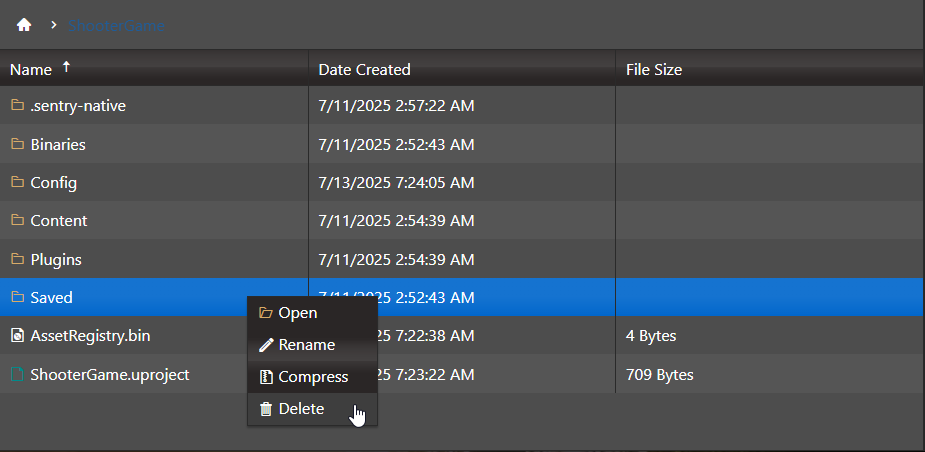
NOTE: Deleting your server's current saved data will permanently remove all progress and world files. Before proceeding, we strongly recommended that you create a backup to avoid irreversible loss in case anything goes wrong. Once deleted, this data cannot be recovered, so be sure you've saved a copy before continuing.
8. Once deleted, upload the backup file you downloaded earlier to the same location where the previous saved data was stored. To do this, simply click the Upload button in the File Manager or we highly recommend to use FTP like Filezilla for transferring files and extract the Zip file.
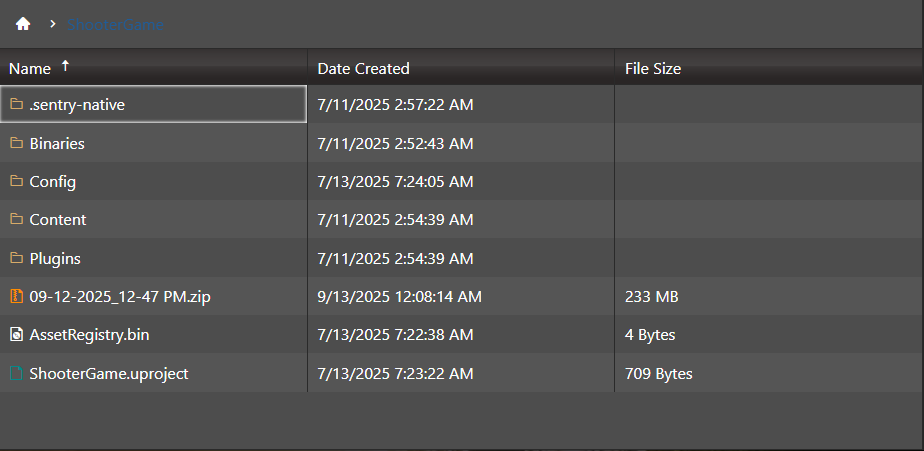
This will replace the old save with your restored version.
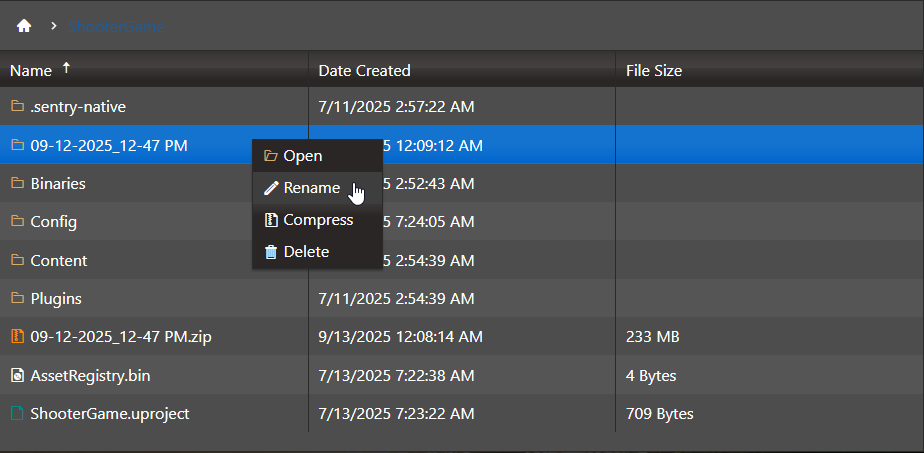
9. After extracting the Zip file, you need to rename the folder to Saved.
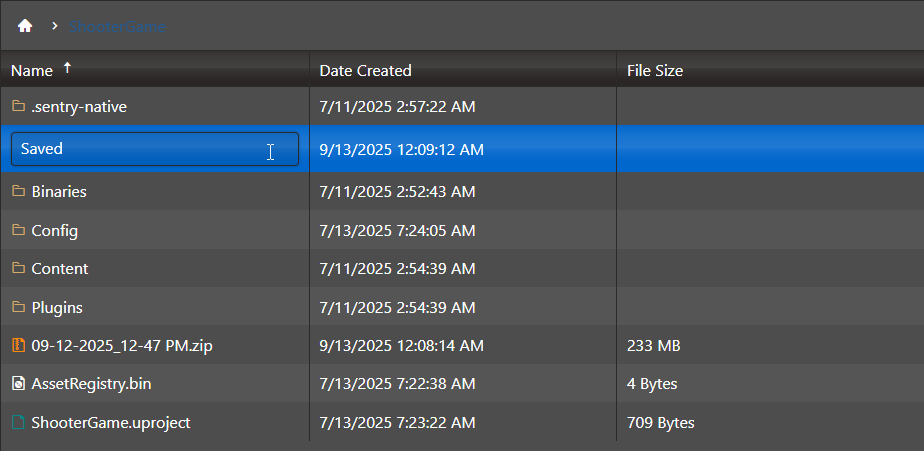
You have successfully restored a backup
