![]()
This guide will show you how install darkness fall mod on your 7 Days to Die server.
If you're ready to take 7 Days to Die to the next level, the Darkness Falls mod is your gateway to a grittier, more intense survival experience. With deeper RPG elements, tougher enemies, and expanded crafting systems, this fan-favorite overhaul transforms the game into a true test of endurance. But to enjoy it with friends on a dedicated server, proper installation is key. This guide will walk you through the steps to install Darkness Falls on your server whether you're hosting locally or using a third-party provider so you can dive into the chaos fully modded and multiplayer-ready.
Installing Darkness Fall Mod on your 7 Days to Die Server
Begin by selecting the specific version of the Darkness Falls mod you want to install. Make sure it aligns with your gameplay goals or mod compatibility needs.
1. Login to your Game Panel.
2. Before making changes, make sure the server is stopped.

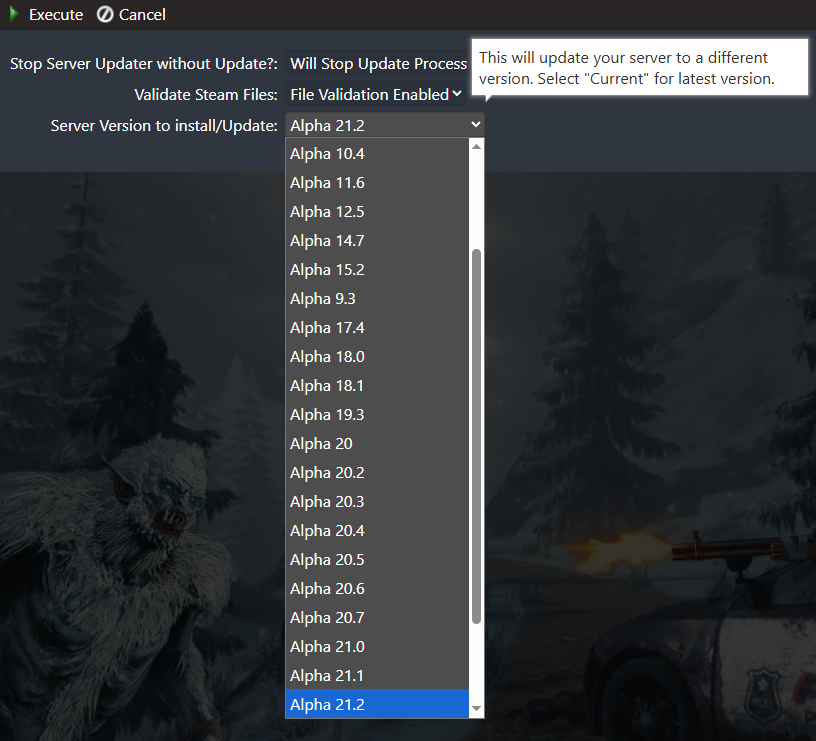
3. Once you've chosen the mod version, install the corresponding version of 7 Days to Die that the mod supports. This ensures stability and prevents conflicts. Navigate to Server Updater.

4. On the server updater, click Server Version to Install/Update and select your preferred version.
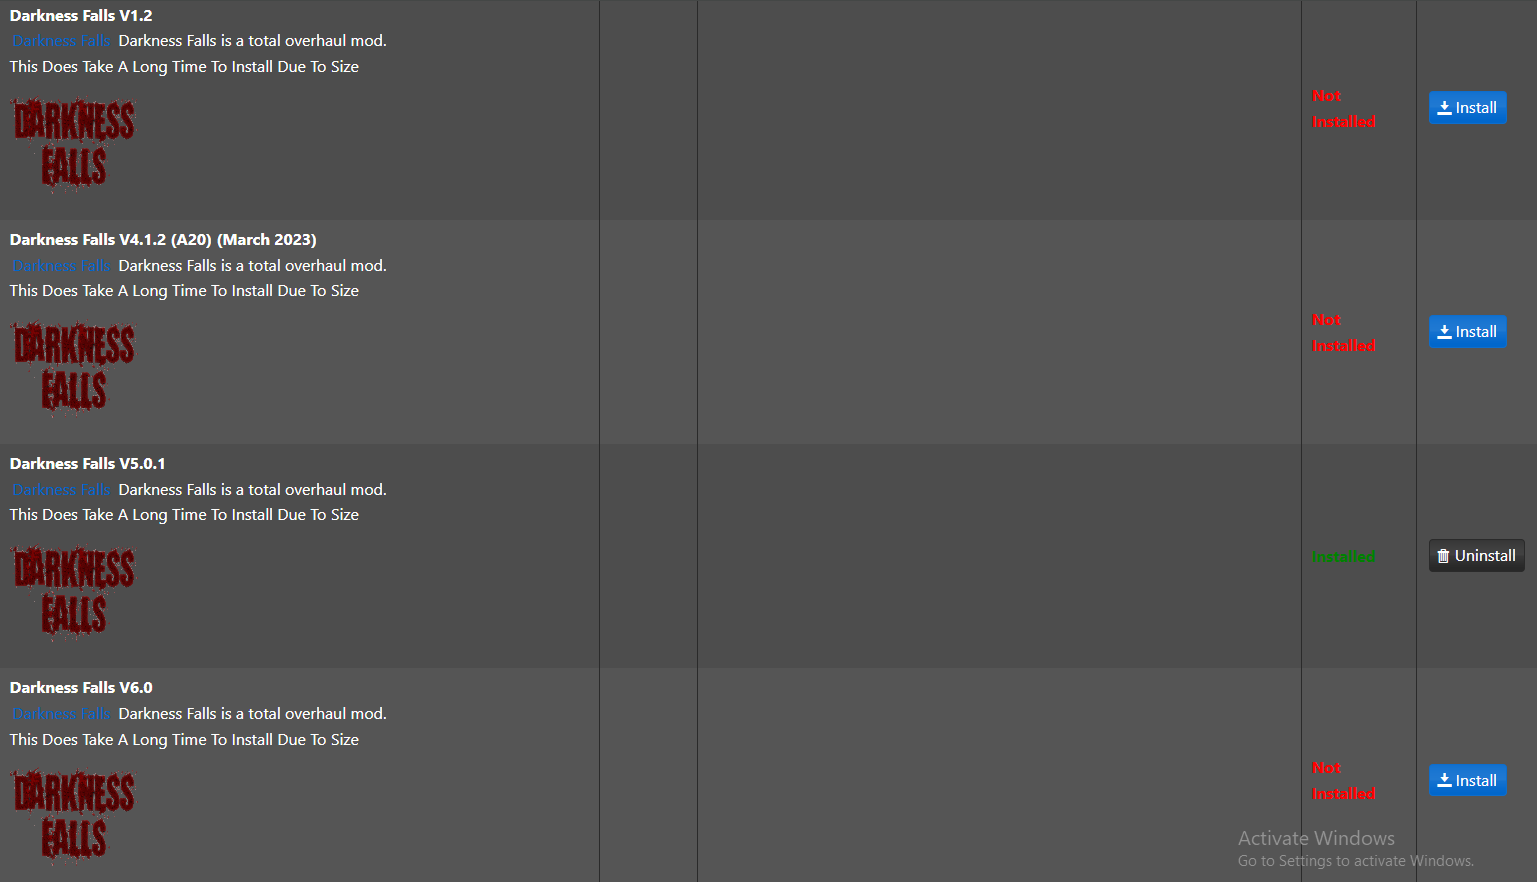
5. Once the base game version is updated. Open the Mod Manager page.
Scroll down to the Darkness Falls section and install the version you want.
NOTE: Darkness Falls requires the connecting client to have
the mod installed on their system along with the server.
Did the above information not work for you?
Please click here to contact our support via a ticket.
