This article will teach you, the account holder/client, how to create a new Contact/Sub-Account for your account.
What is a Contact/Sub-Account?
A Contact/Sub-Account is a secondary account that both is joined, as well as interacts with yours, and you can dictate what permissions it has.
For example, if I made a new Contact/Sub-Account, I could choose to only give it access to create tickets, or I could give it access to change passwords, service information, or even order upgrades for me.
How do I create a new Contact/Sub-Account?
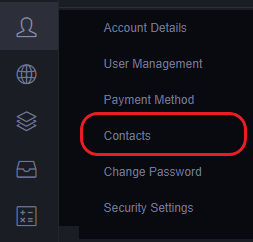
Go to your account and click the Account button at the left side of the home page. Then click Contacts.
After doing so you should see a page with some blanks to fill out, this is where we create the Contact/Sub-Account.
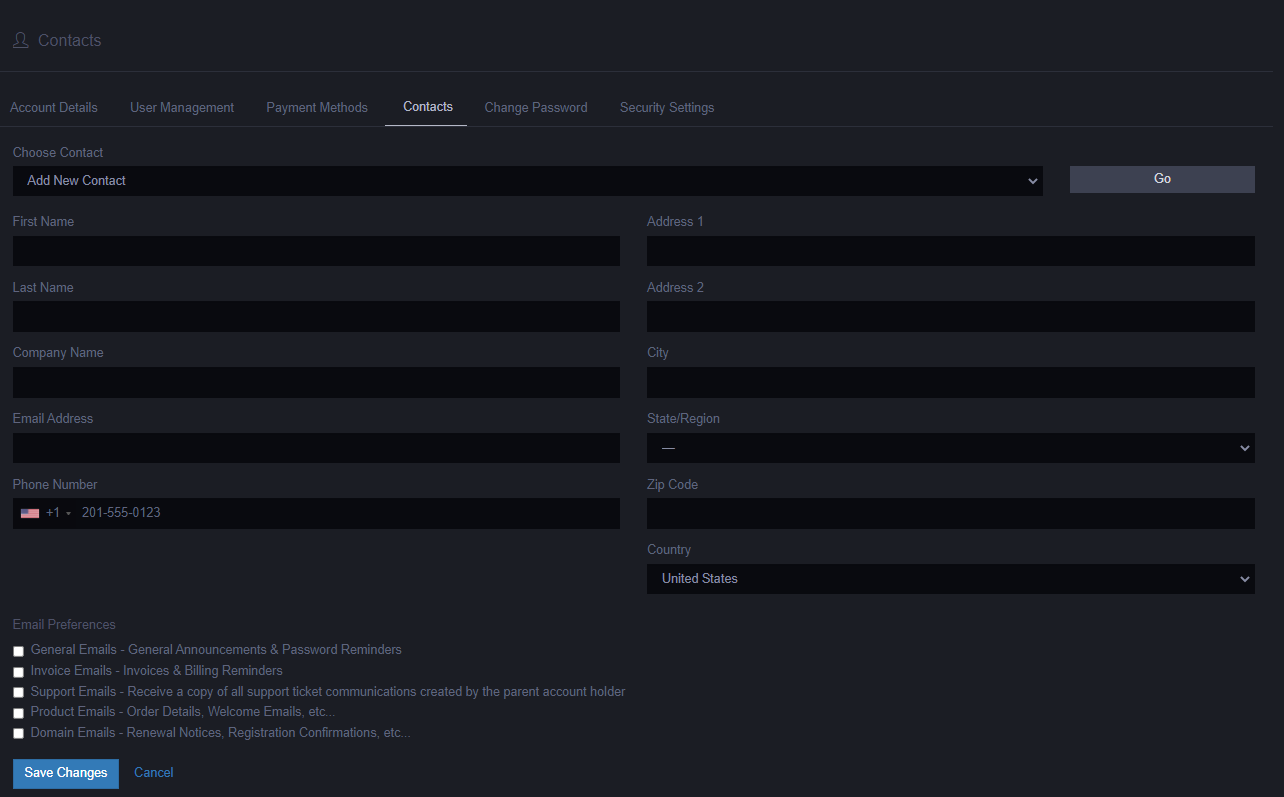
What you need to do now, is fill out the information for your new Contact/Sub-Account. You don't need to fill out all of it, only mostly basic details such as names.
Under "Email Preferences" you can also choose what e-mails you want your Contact/Sub-Account to be receiving.
Once you're done creating your Contact/Sub-Account, make sure to press "Save Changes" to save it. And that's it, you've now created a new Contact/Sub-Account!
