

This guide will show you how to enable and play Custom Maps on your ARK SE Server
Custom maps give your ARK: Survival Evolved server a fresh identity, letting you move beyond the official map rotation and into player‑made worlds with unique terrain, handcrafted biomes, and specialized gameplay layouts. Whether you’re building a themed community server or simply want a new environment to explore, enabling custom maps is a straightforward process once you know where to configure them. This introduction walks you through how to activate and load custom maps on your ARK SE server so your players can join and start exploring your new world right away.
Adding Custom Maps to ARK: Survival Evolved Servers
1. Log in to your Game Panel.
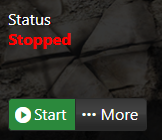
2. Before making changes, make sure the server is stopped.
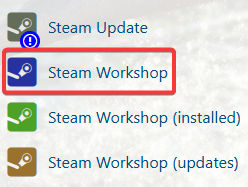
3. Navigate to Steam Workshop.
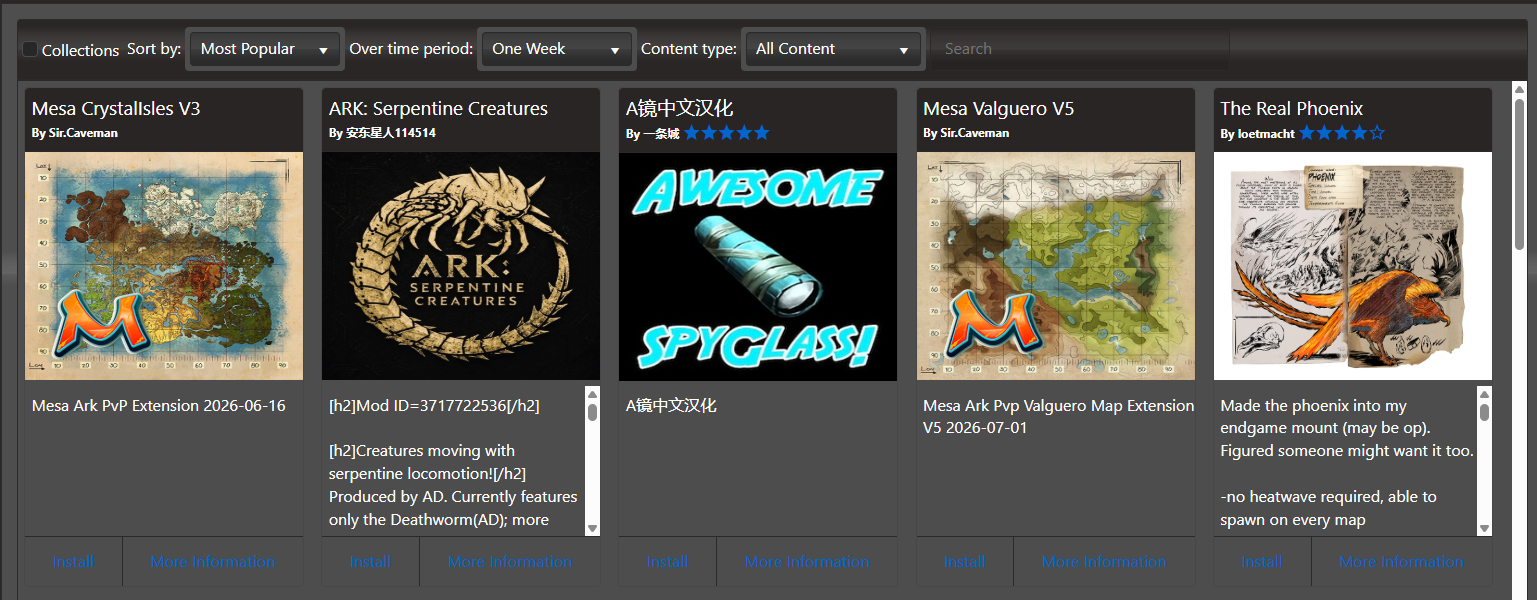
4. In the Steam Workshop, find and install the custom map you want to use on your server, ensuring each one is downloaded correctly.
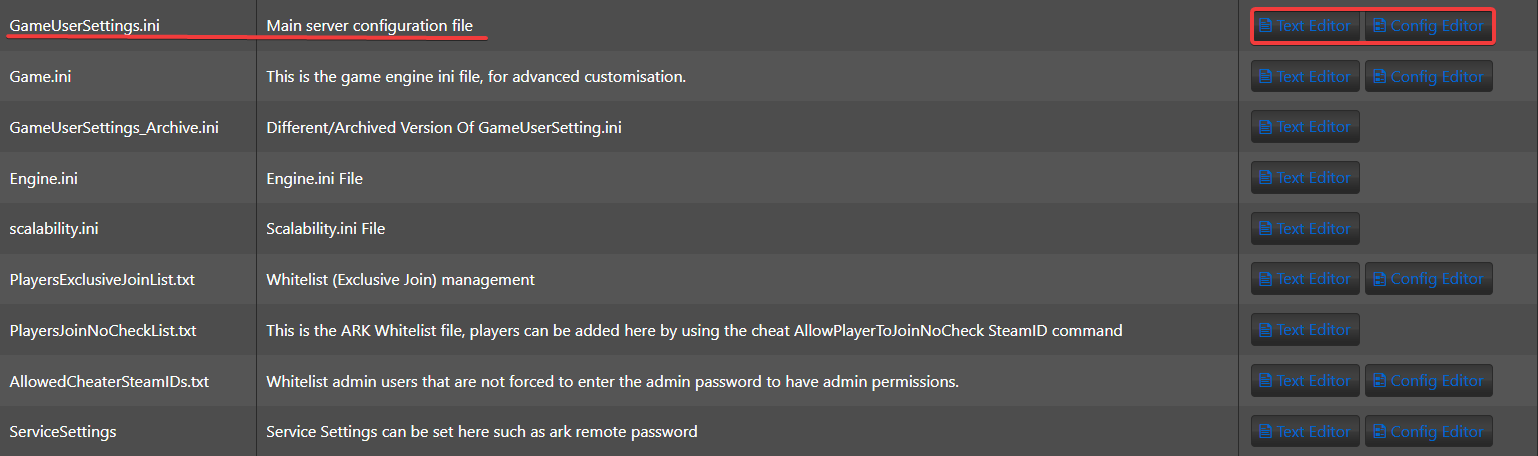
4. After installing the map, navigate to the Configuration Files section, locate the GameUserSettings.ini file, and click the Config Editor to open it.
5. In the Config Editor, locate the Mod/Map File Path field and enter the name of your custom map.

6. Click the Save button to apply it.

7. Start your server and explore your new custom map.